A lot of people have or are buying those cheap inflatable Bestway hottubs.
A lot of people have in the past realized after about half a year of continuous running that the water pump unit is of very low quality.
I have been running my Bestway hottub for about five or six years now. Because of this low quality I had to enroll myself into the world of Bestway parts and repairs. I regularly had and have to repair various things about my Bestway hottub. Usually something about the water pump unit.
Last time, in 2019, it was the water flow sensor. Being a good engineer, I of course hacked it. I have also bought one time a second hand infamous #58113 motor (the number is already infamous and known in the Bestway parts community).
Today I had the ER02 error back. No water flow. But after some testing I knew that it was not the water flow sensor this time. Then it’s probably the motor itself. These #58113 motors often have it that their impeller comes loose inside of the motor.
Instead of ordering either a new impeller or a new motor, I decided to investigate it this time. And try to figure out what the engineering mistake is that the person who designed this motor made.
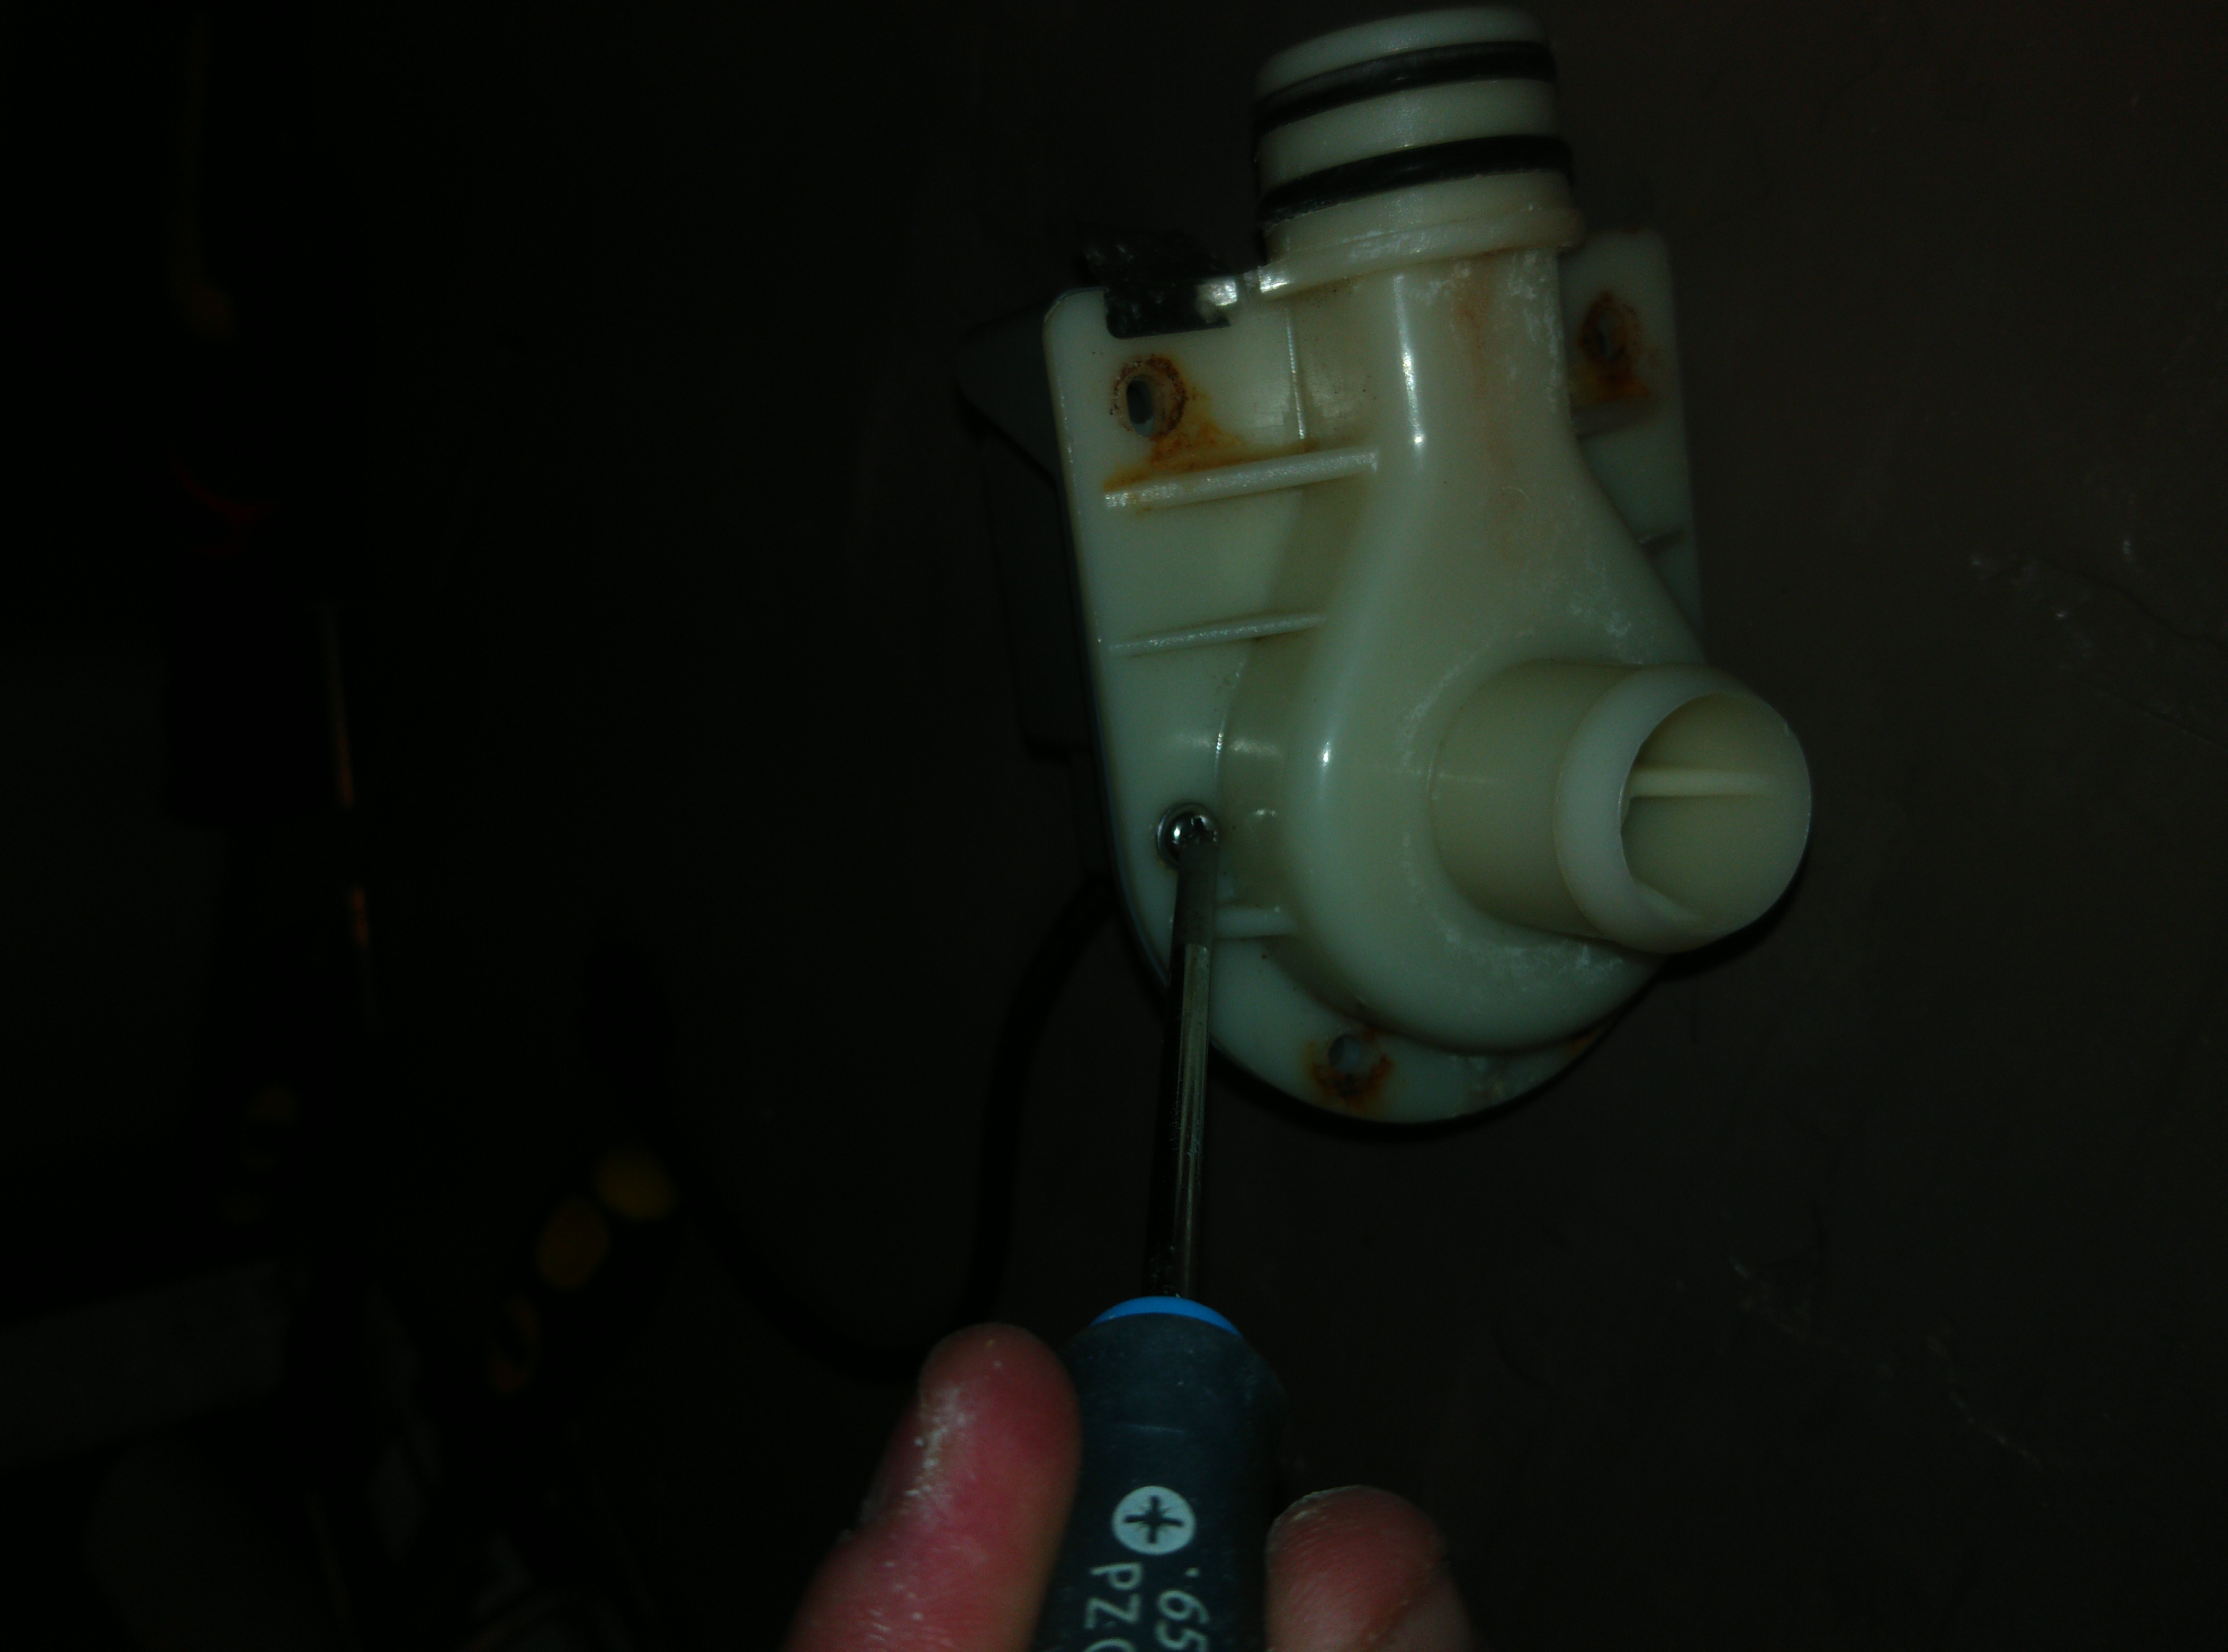
Getting the motor out is probably already plenty challenging for most owners of a Lay-Z-Spa. It’s not too complicated though: turn the motor pump upside down. Take off the bottom panel. Loosen two screws of the motor. Disconnect the electric cable. Pull the motor out. For the motor you don’t need to open the top of the water pump unit. If your problem is the water flow sensor, then you do need to open the top instead.
I found out what is wrong about the motor (the rubber bearings are just cheap) and I will now present a hack that you can do to salvage your Bestway #58113 motor with four cheap washers that will keep the impeller better in place.
Here you have the impeller (or/plus commutator) and the rubber “bearing” for it (in background the disassembled stator):
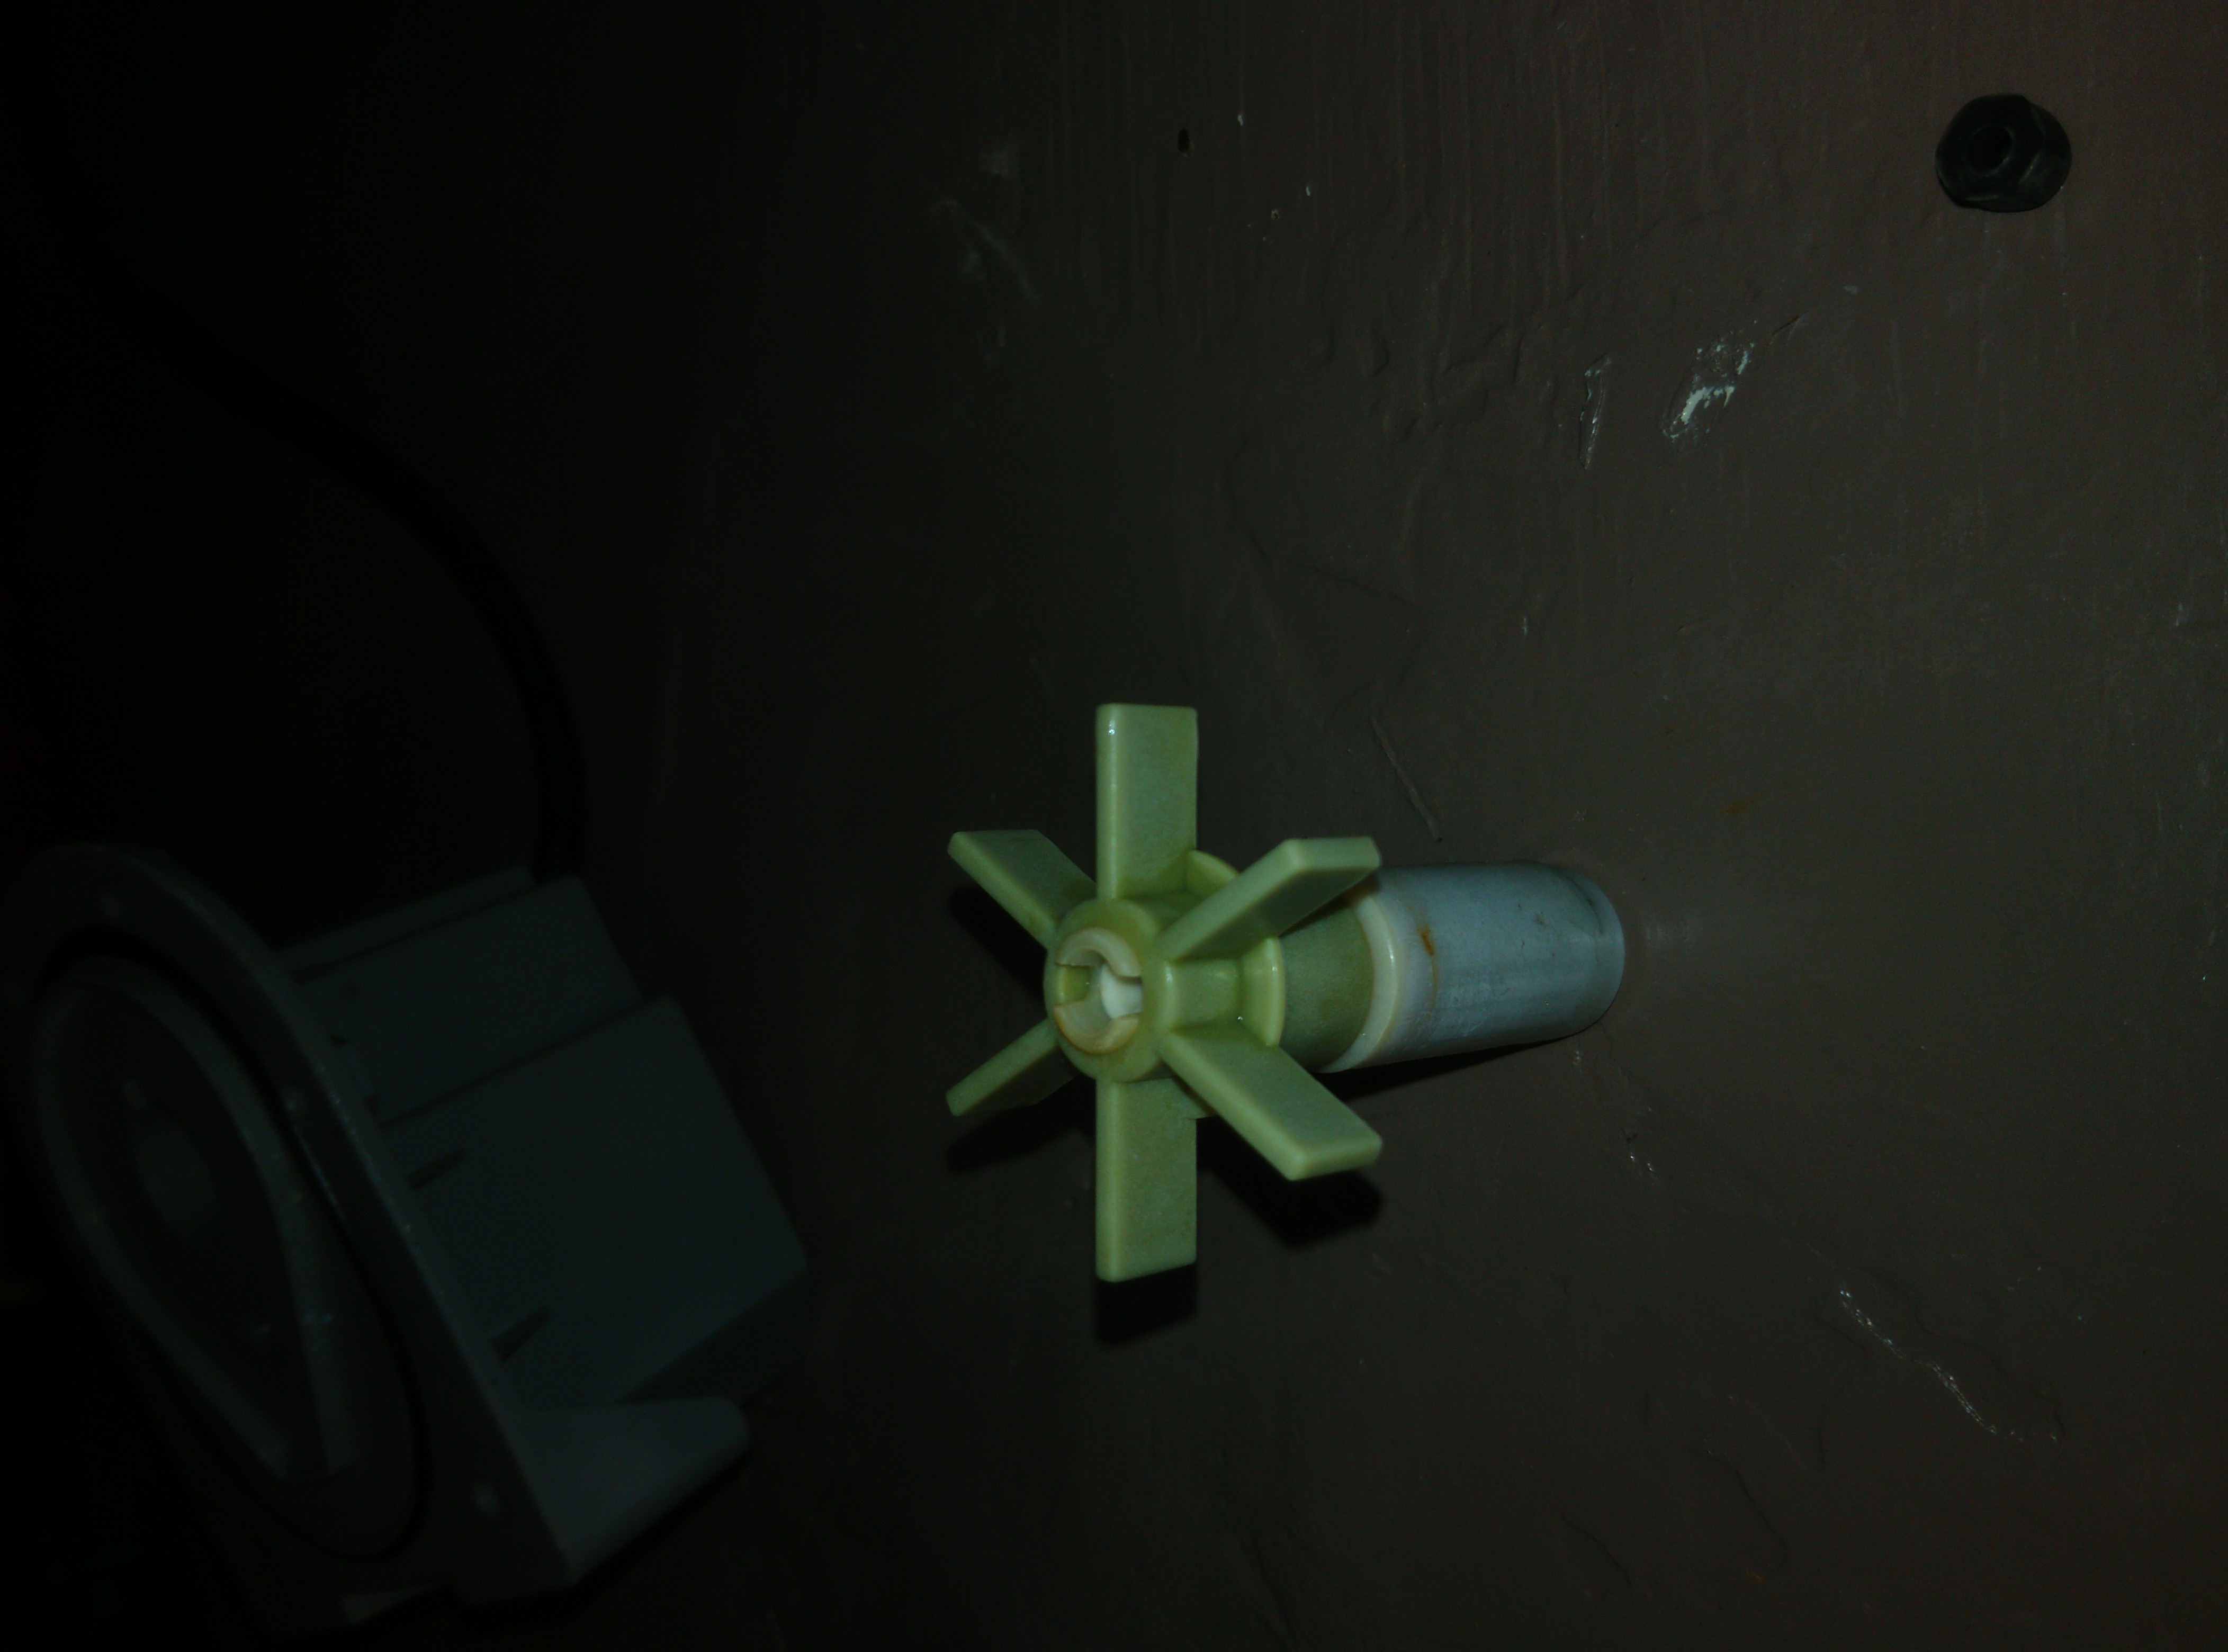
And this is the shaft and again that rubber “bearing”. The shaft will go through the middle of the impeller (plus commutator) and at the ends two of those rubber bearings go to keep the shaft nicely centered. All this is plastic. Super low quality. Almost guaranteed to fail after a few months of operation.

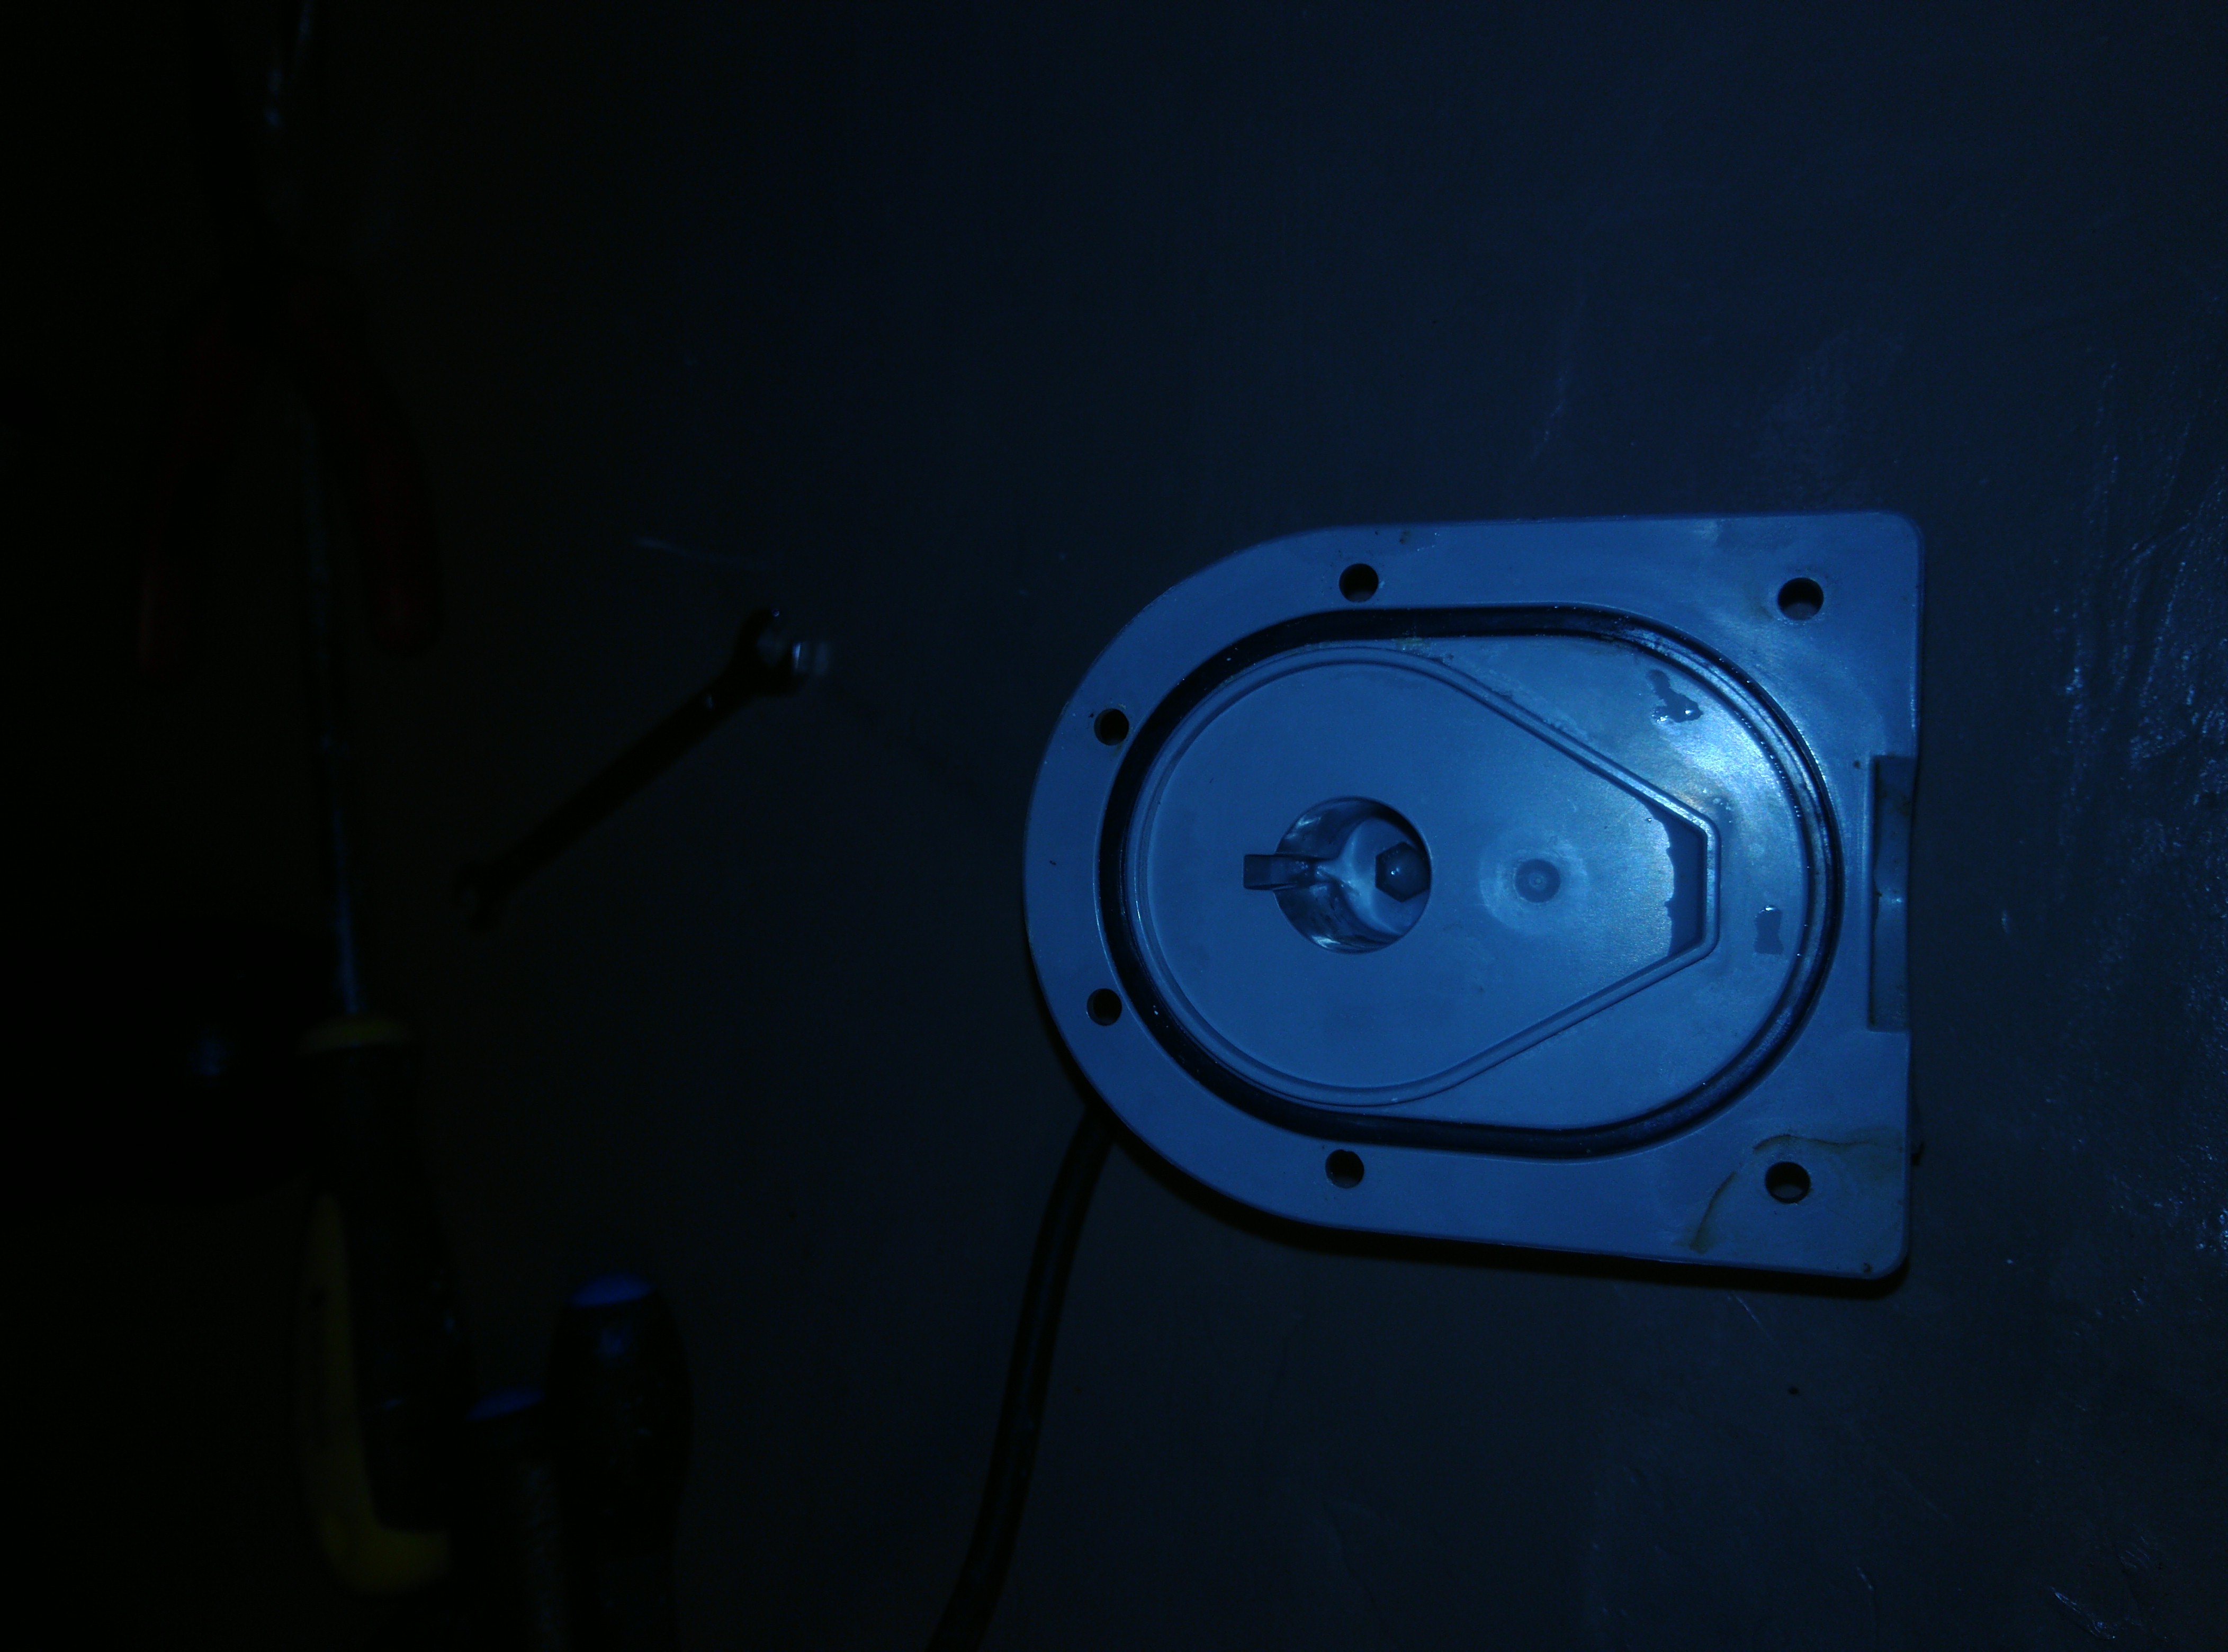
This is the stator. One of those rubber bearings must go in the middle of it. And then the shaft in the bearing. Keep the rubber seal good. Else when reassembling the motor water will splash all over the place. This is not good.
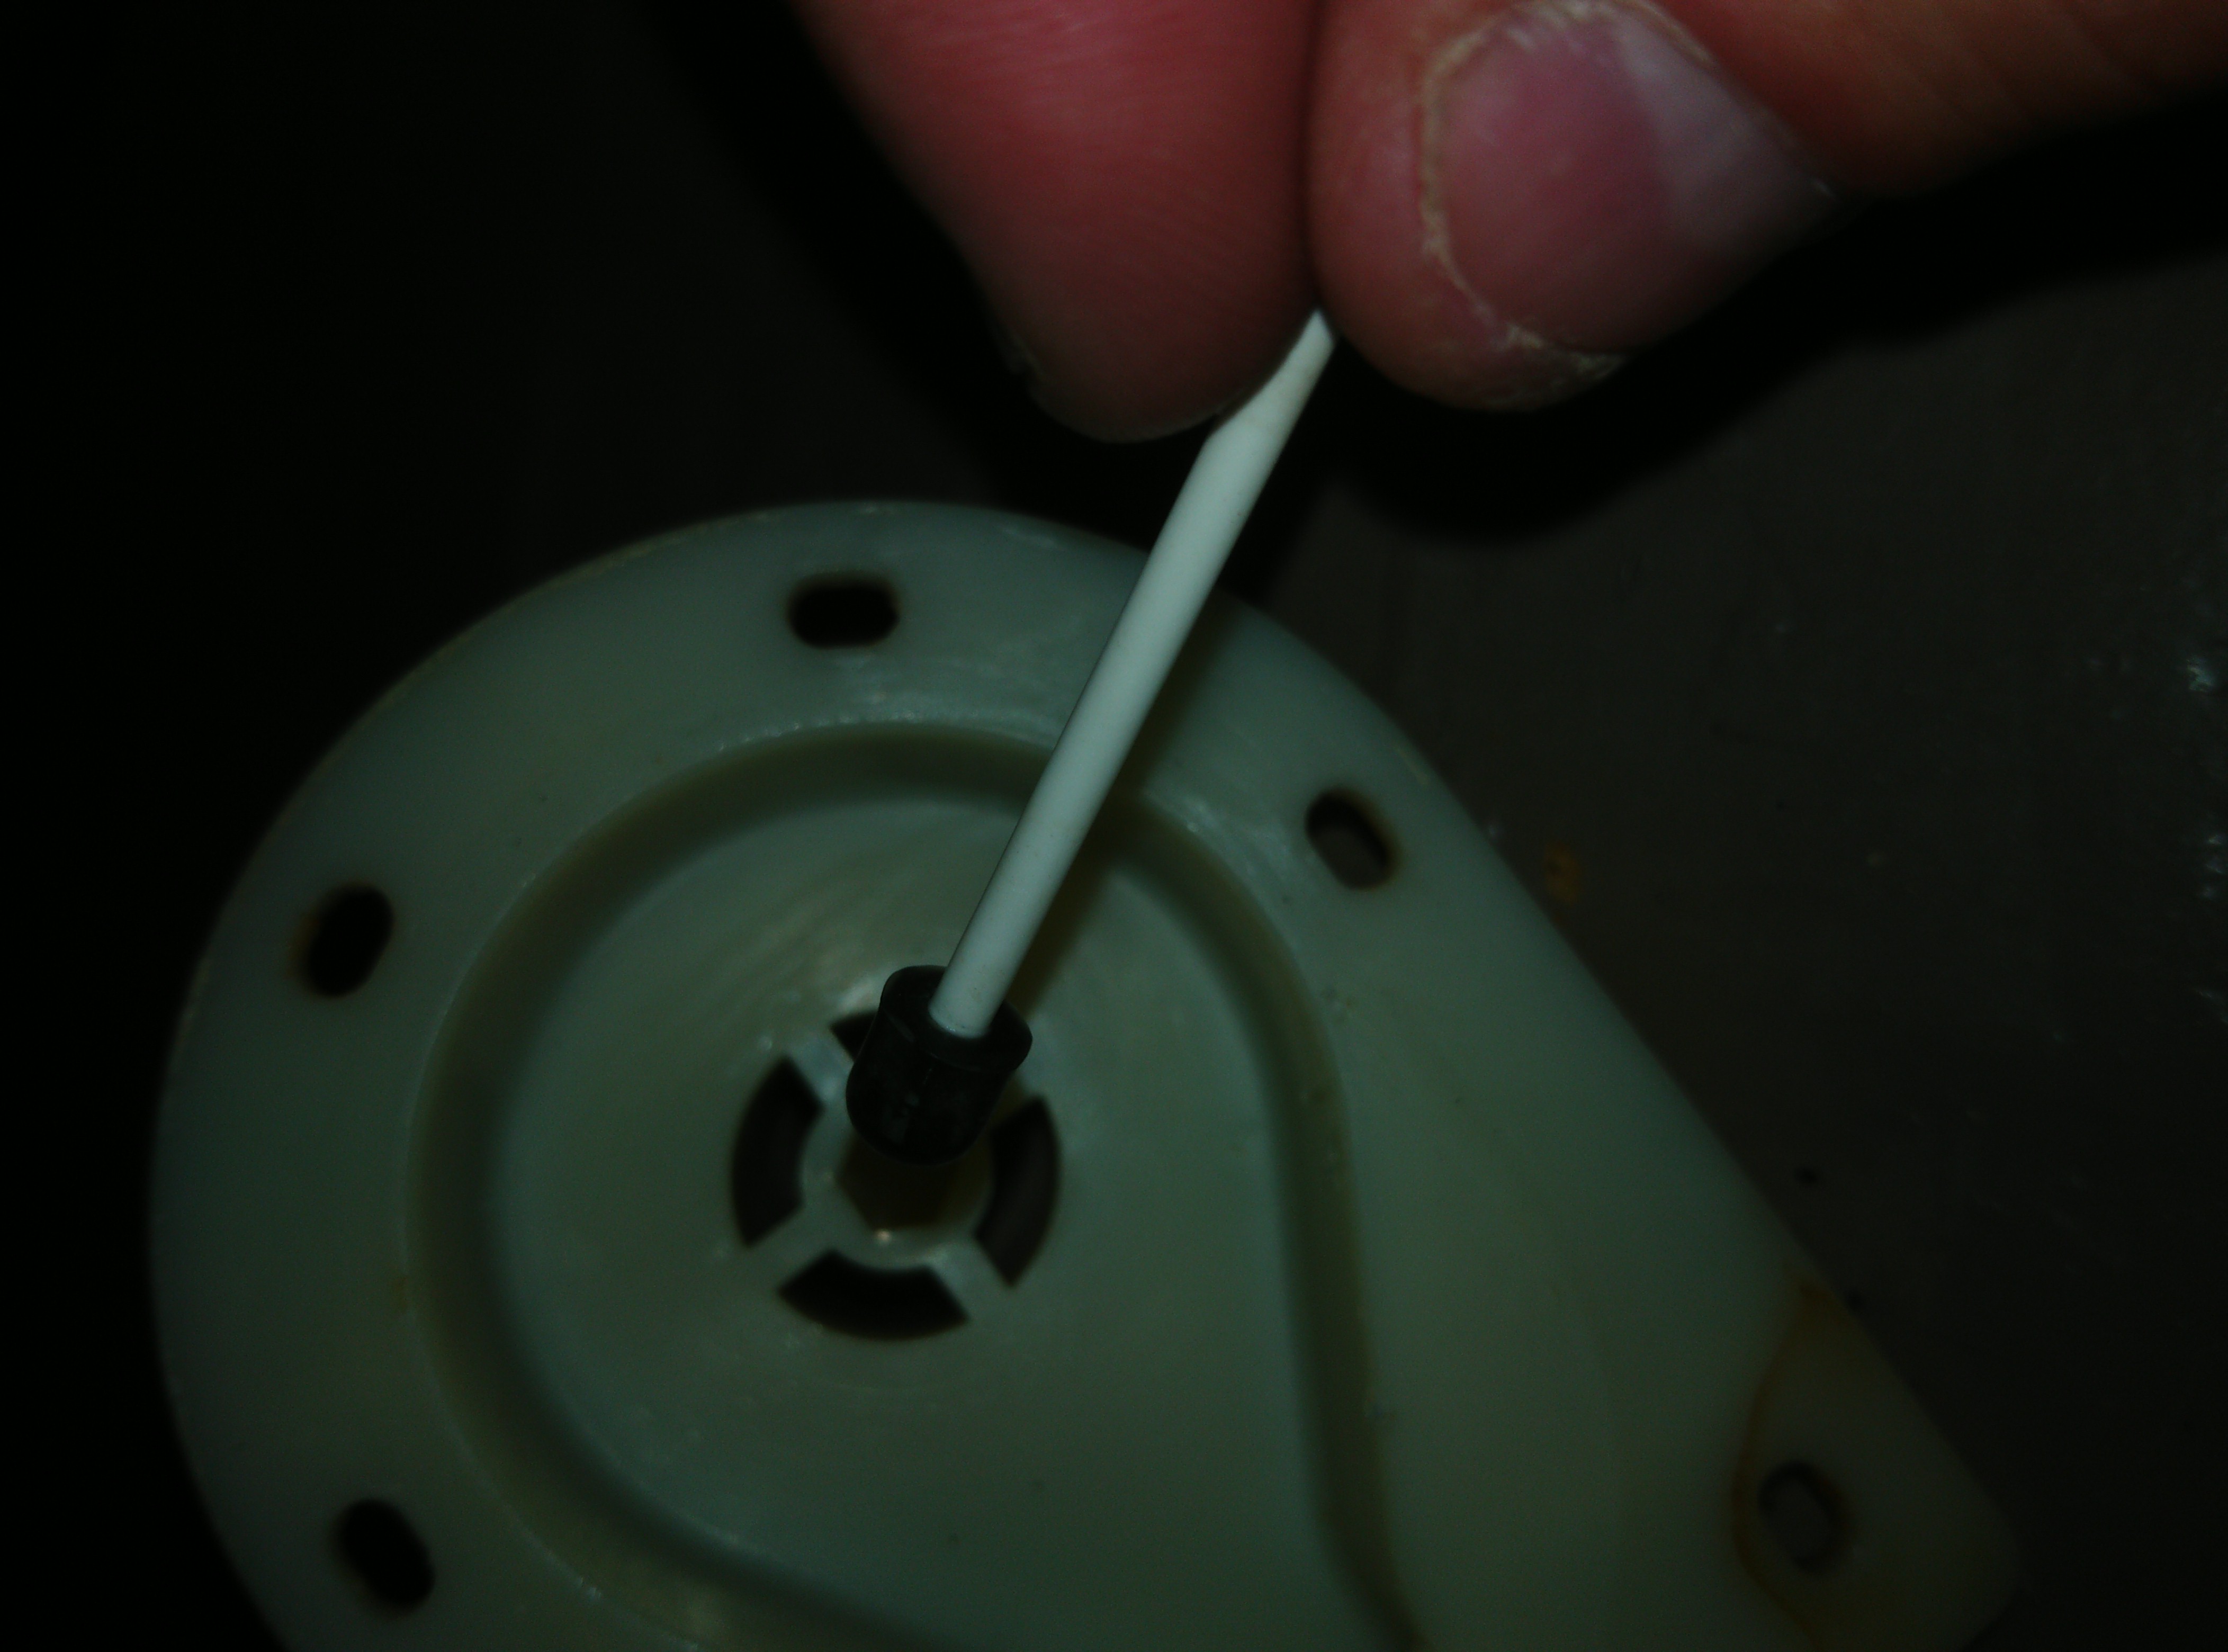
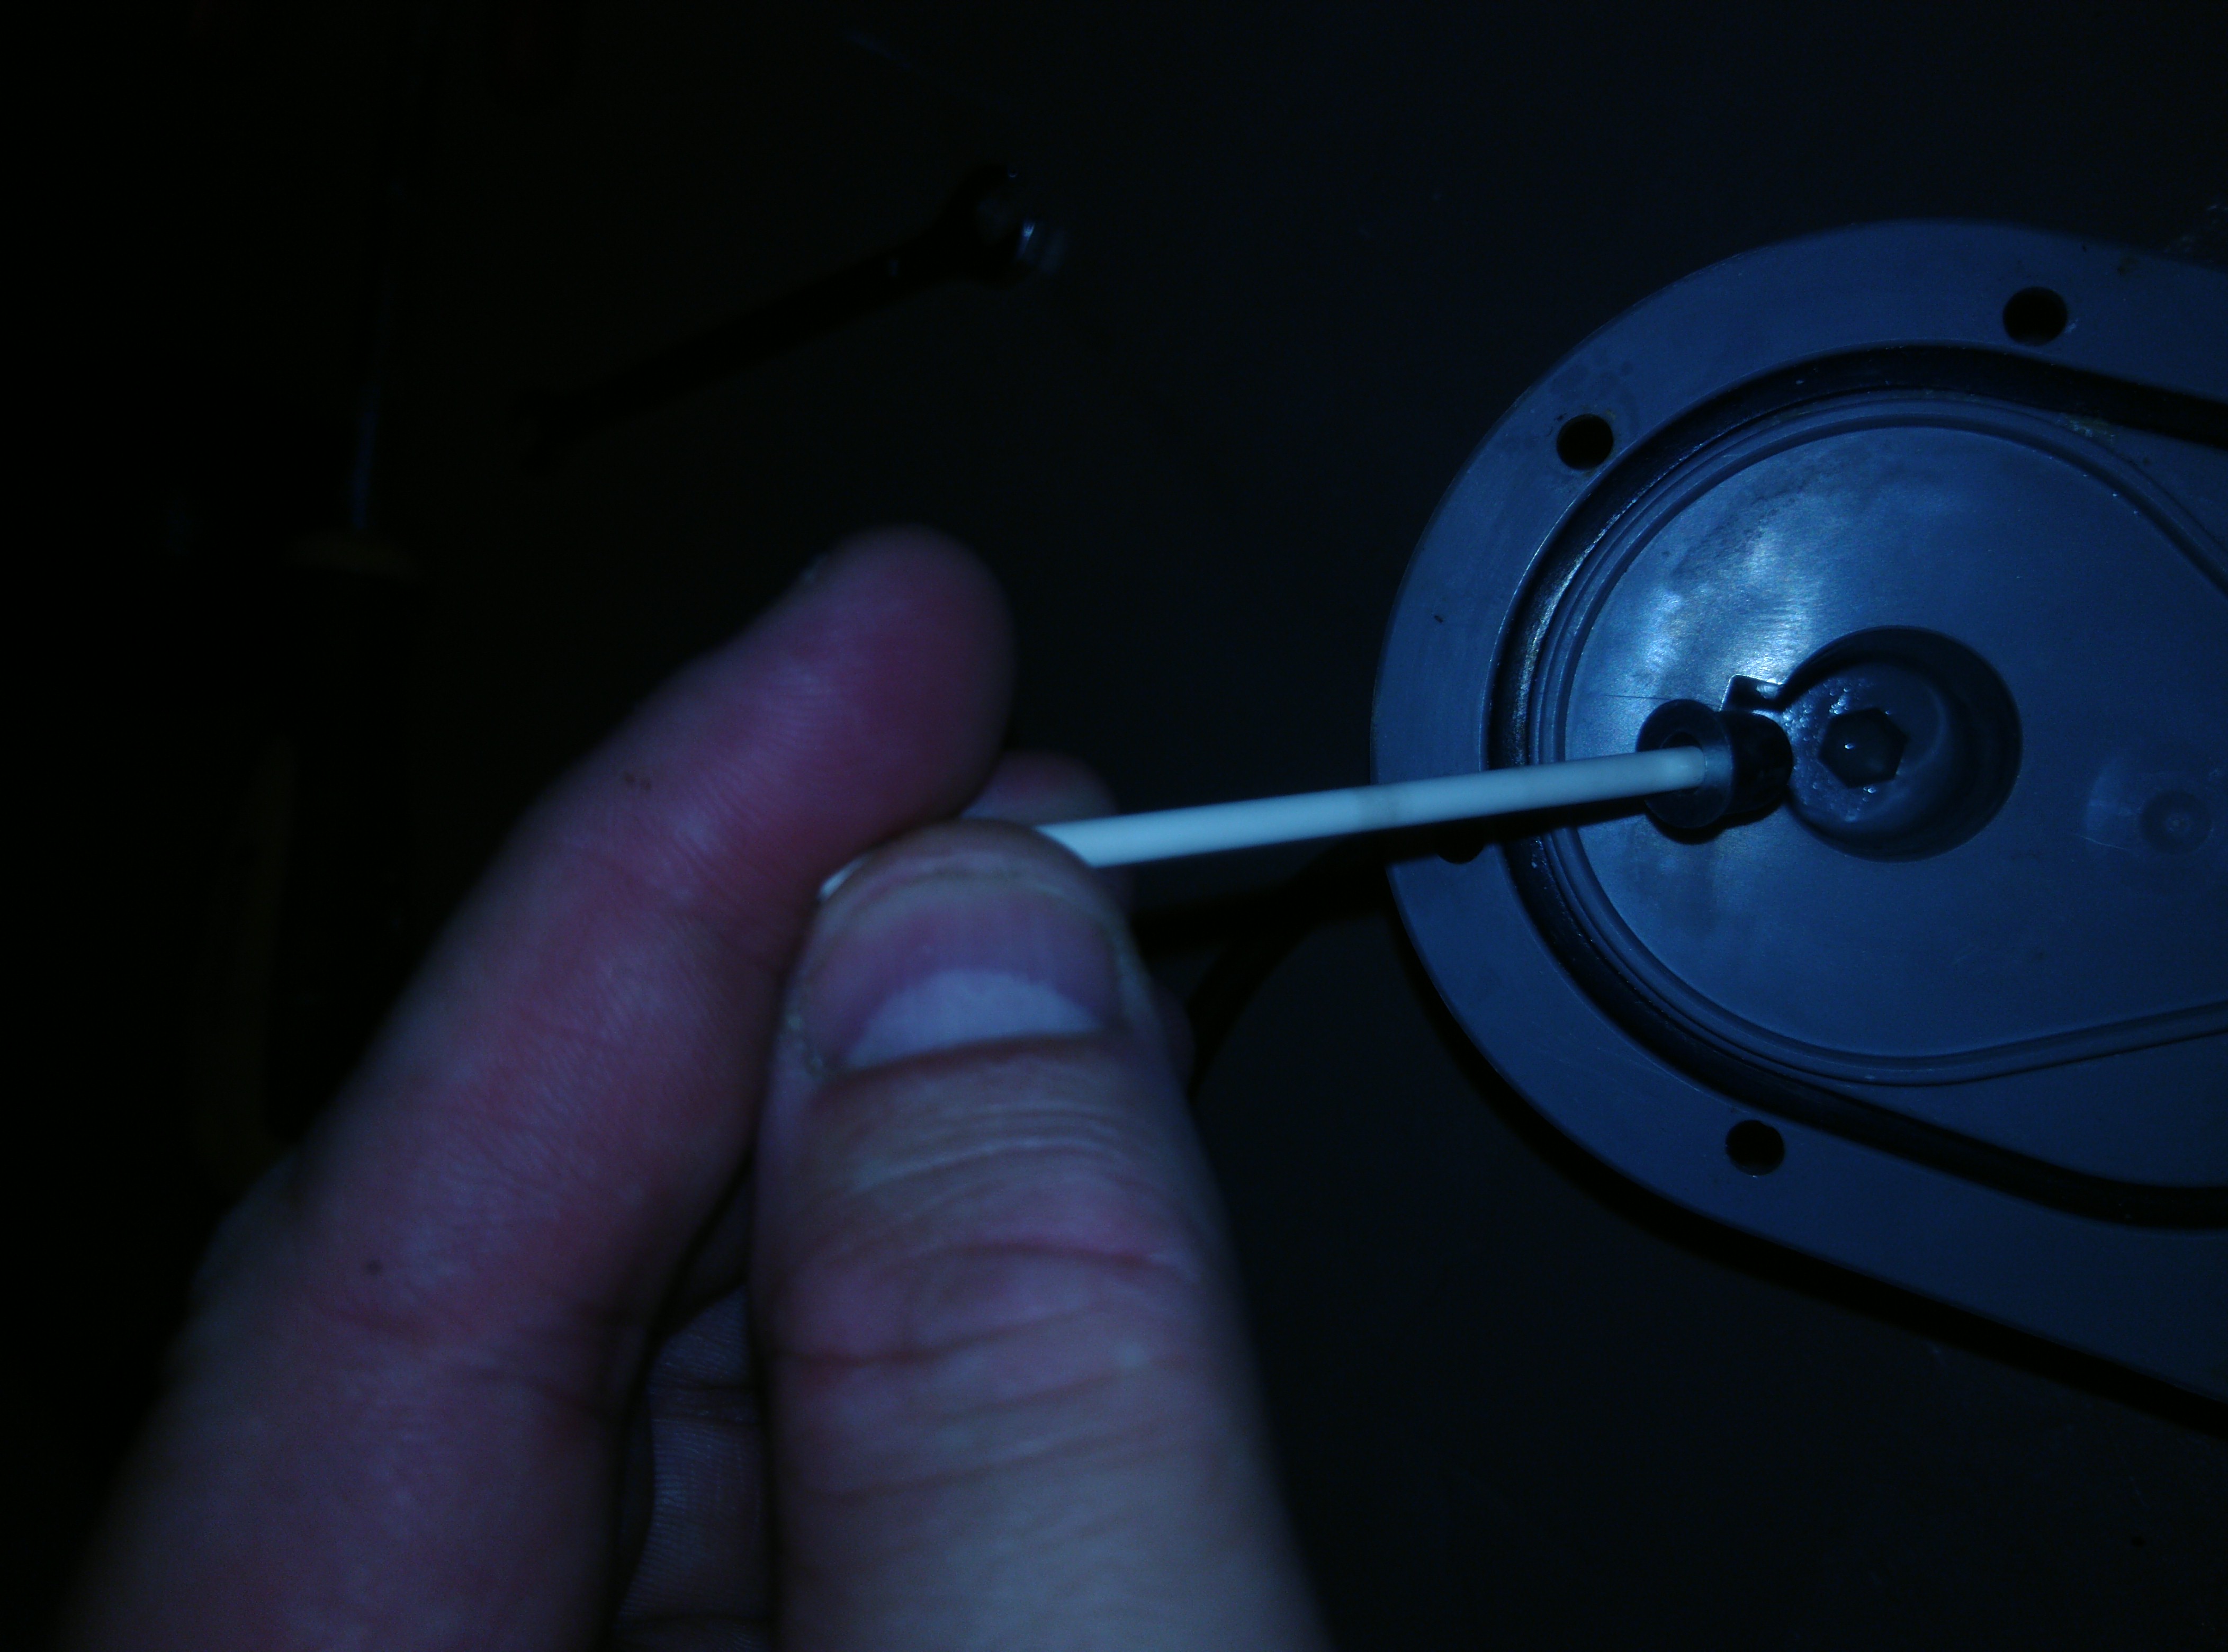
This picture illustrates how the shaft goes in the rubber bearing and then in the front cap
This picture shows the normal assembly of shaft, impeller (plus commutator) and bearing. Normally there is a by the factory added washer too. But mine was completely gone. Debris of it was found in the commutator. This shows how low quality this piece of shit is. This of course should never happen.
This will be the hack. We will place three simple washers on the shaft between the impeller and the bearing.
Update: After a first inspection after two days of running with the washers I noticed that although the washers claim to be stainless steel, I saw and I realized that all steel eventually rusts. I made a little plastic washer instead and I greased it with silicone grease that I once bought to grease the seal of my Scuba dry suite.
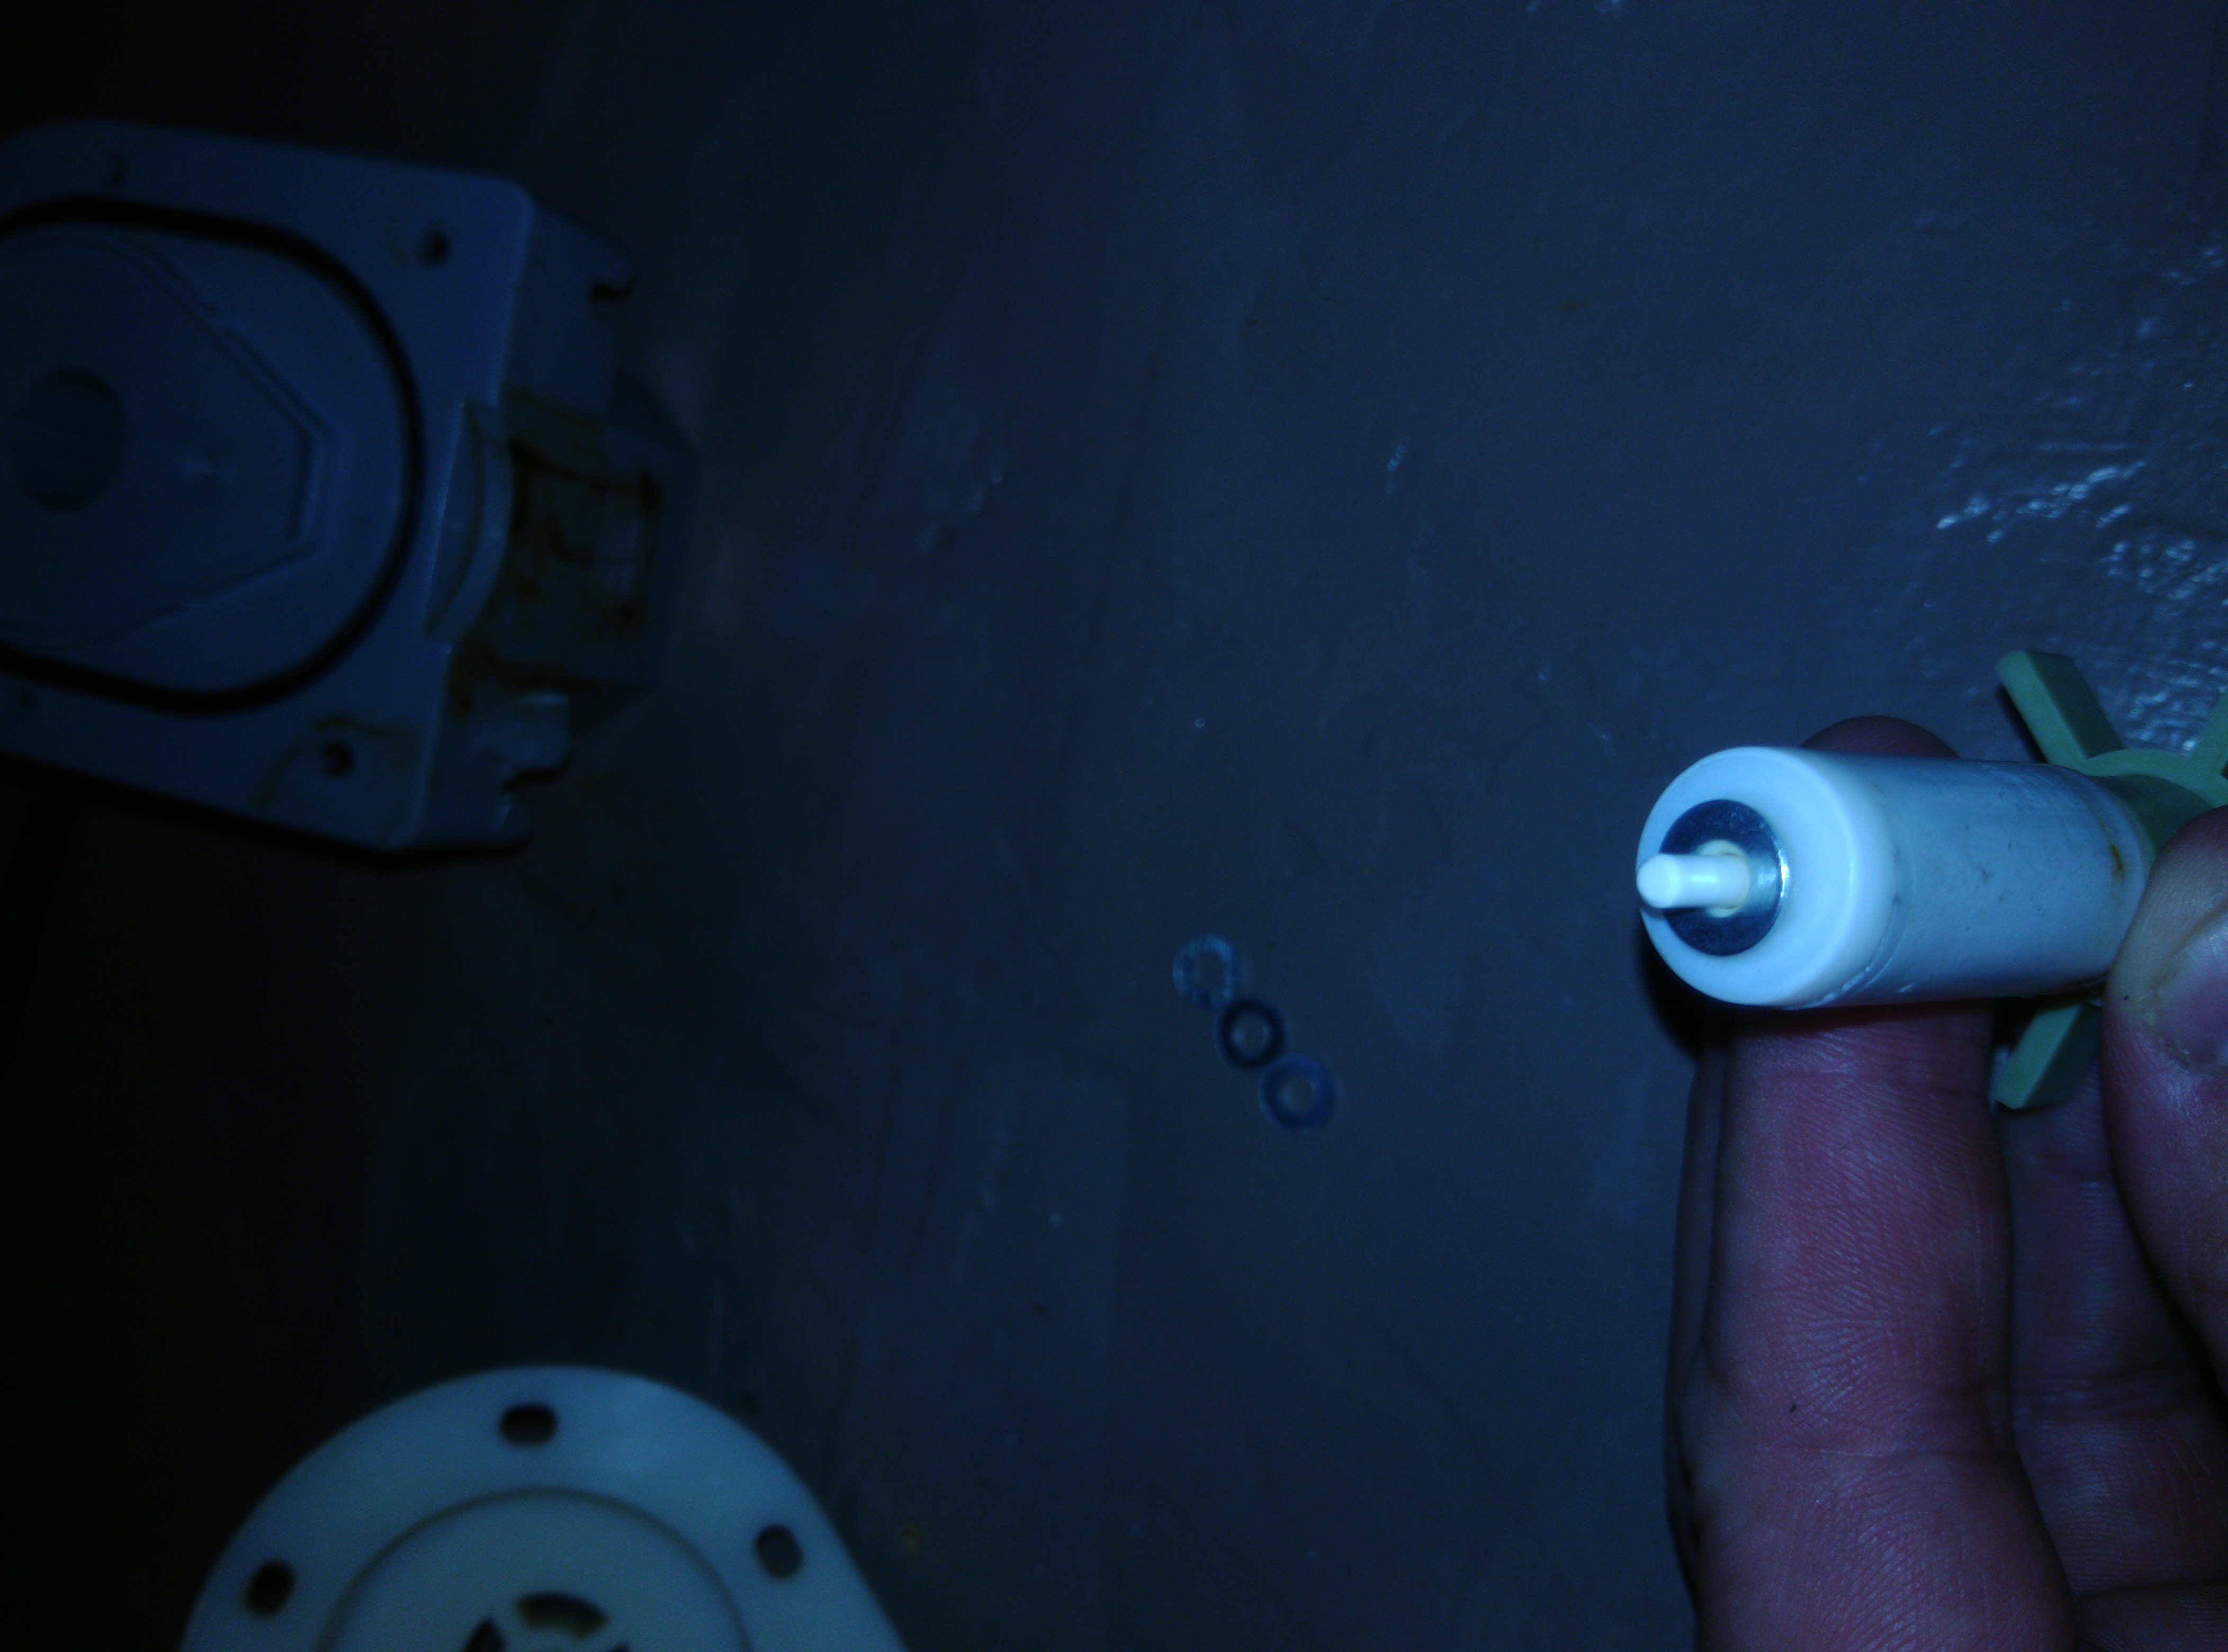
This is the plastic washer I made to replace the metallic ones, with that grease applied:

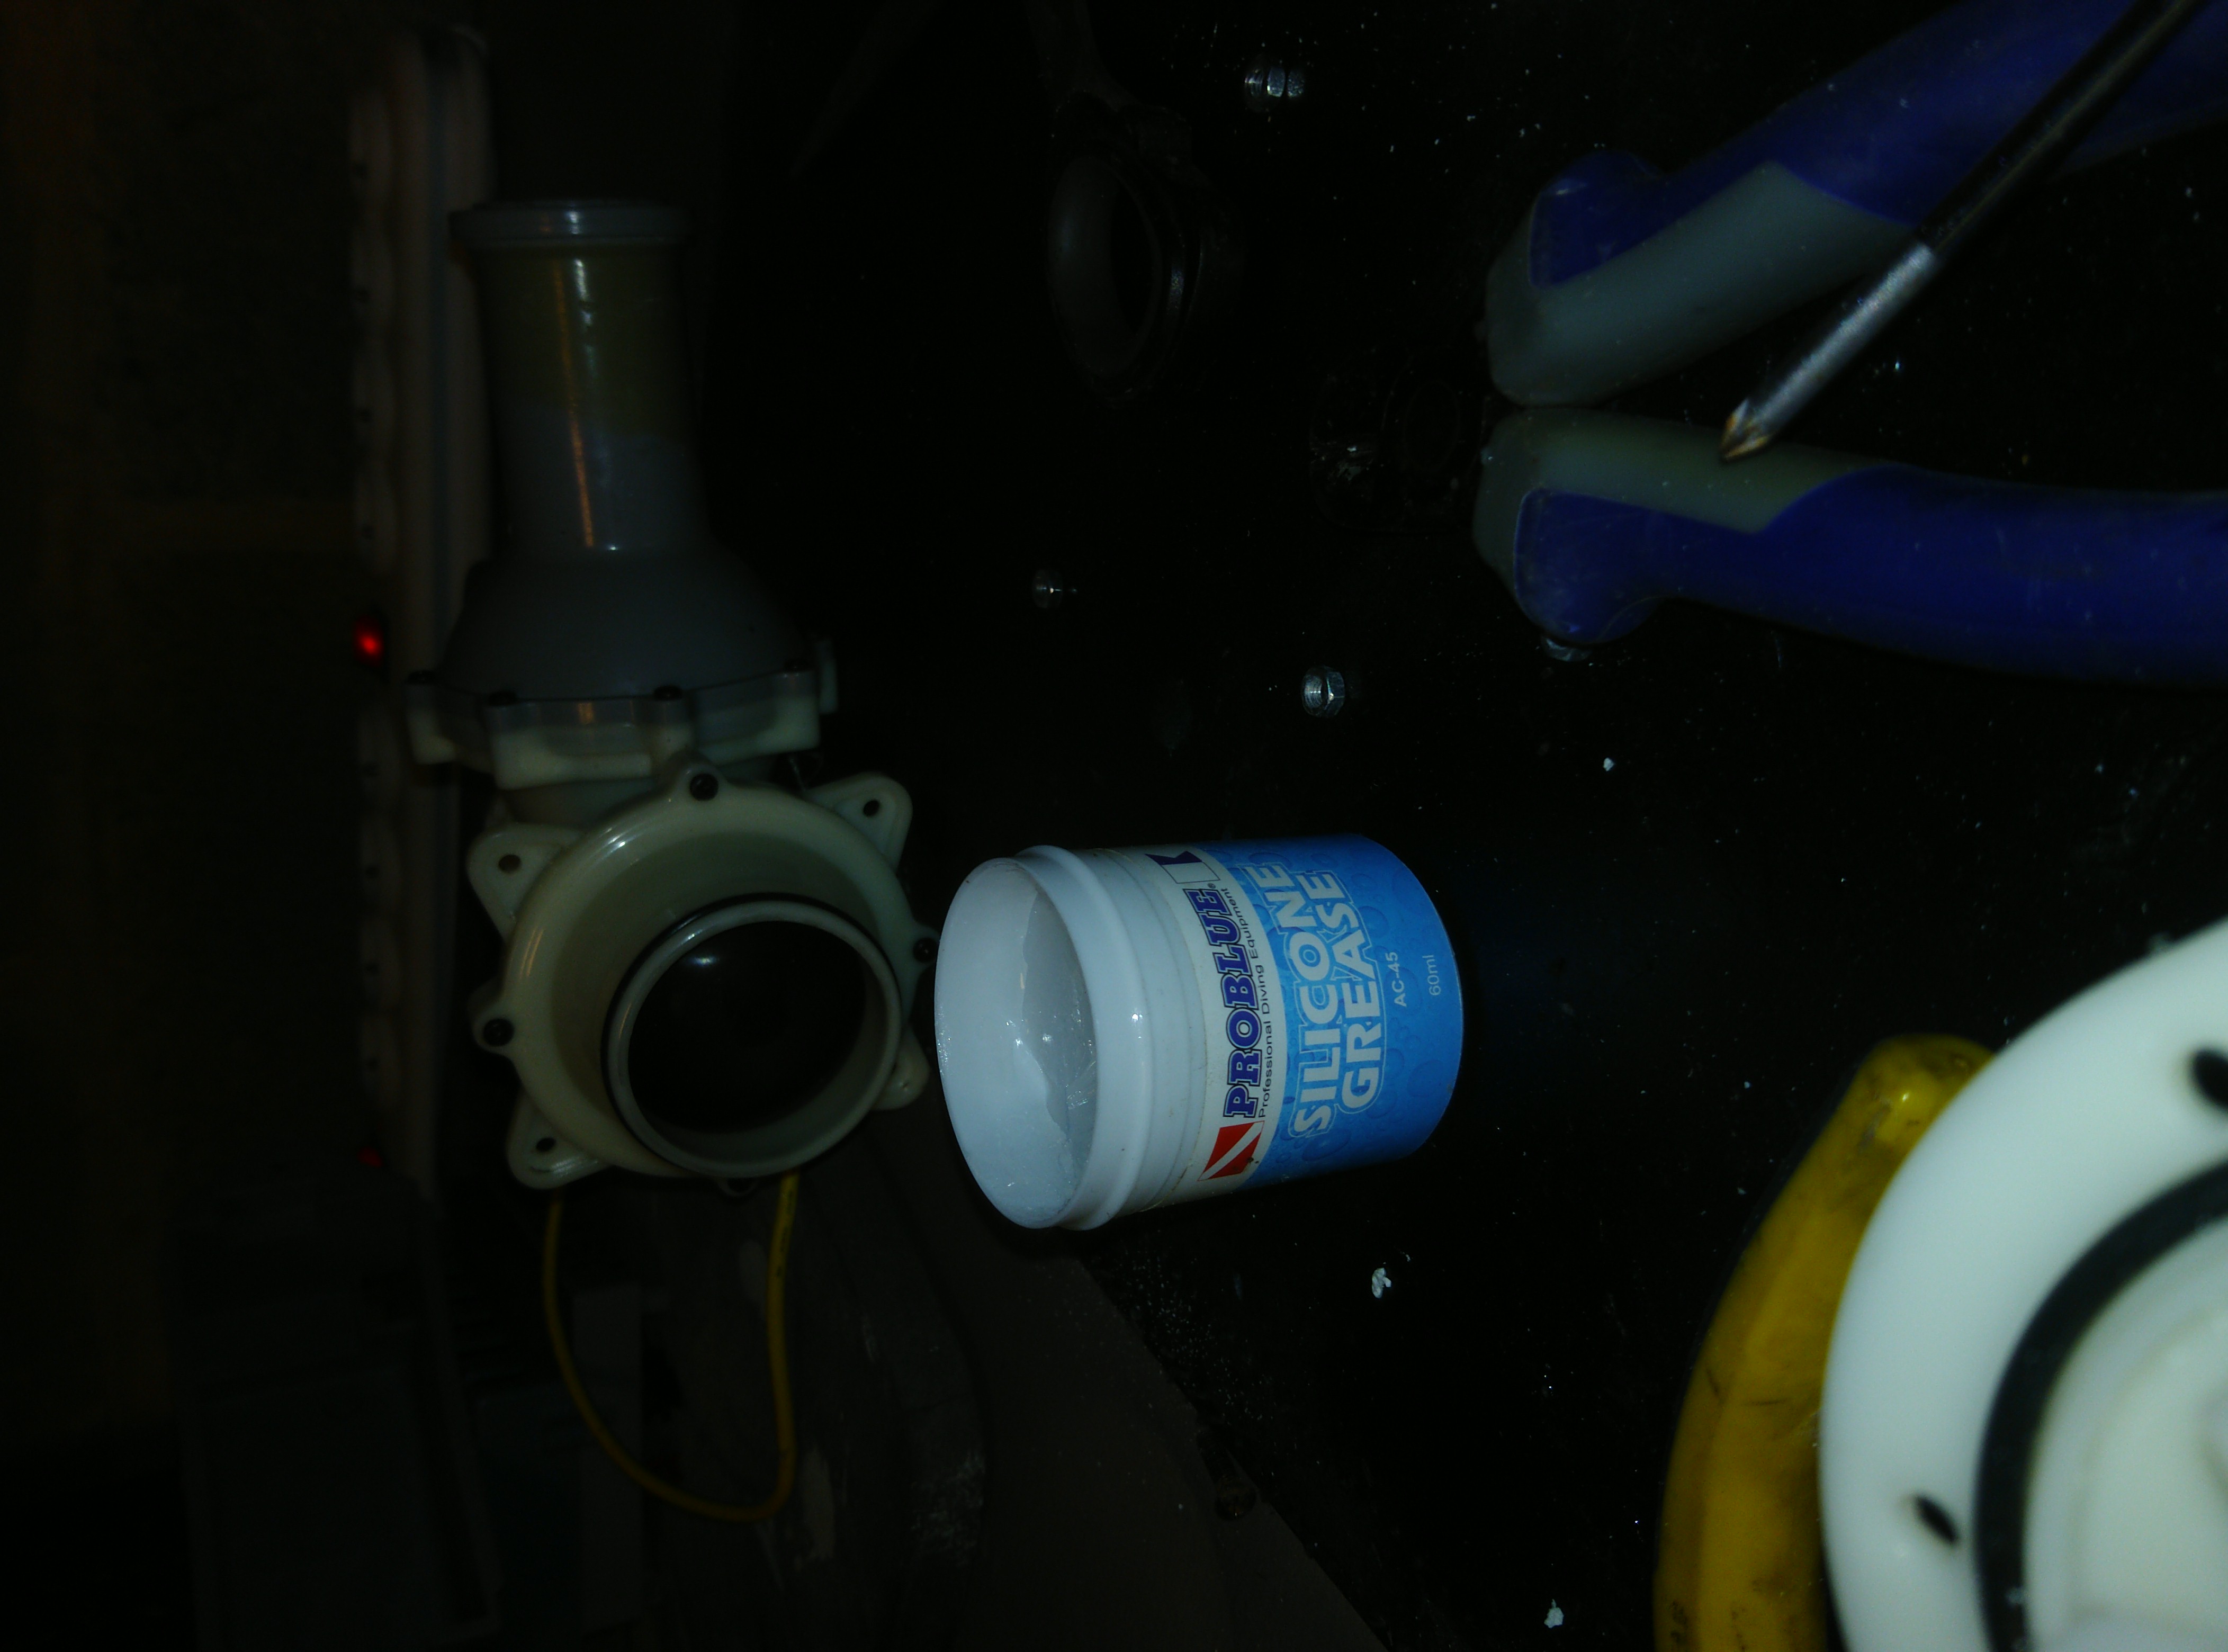
This is that silicone grease. I greased the entire shaft with it too:
This will once reassembled keep the entire assembly (bearings, shaft, commutator) tighter together with the stator. Without these three washers the plastic washer, the whole thing starts wiggling and eventually comes loose. Impeller will become erratic and destroys the washer (in my case) and likely also one of the two rubber bearings. After that it’s pretty much game over and you’ll see the ER02 error.
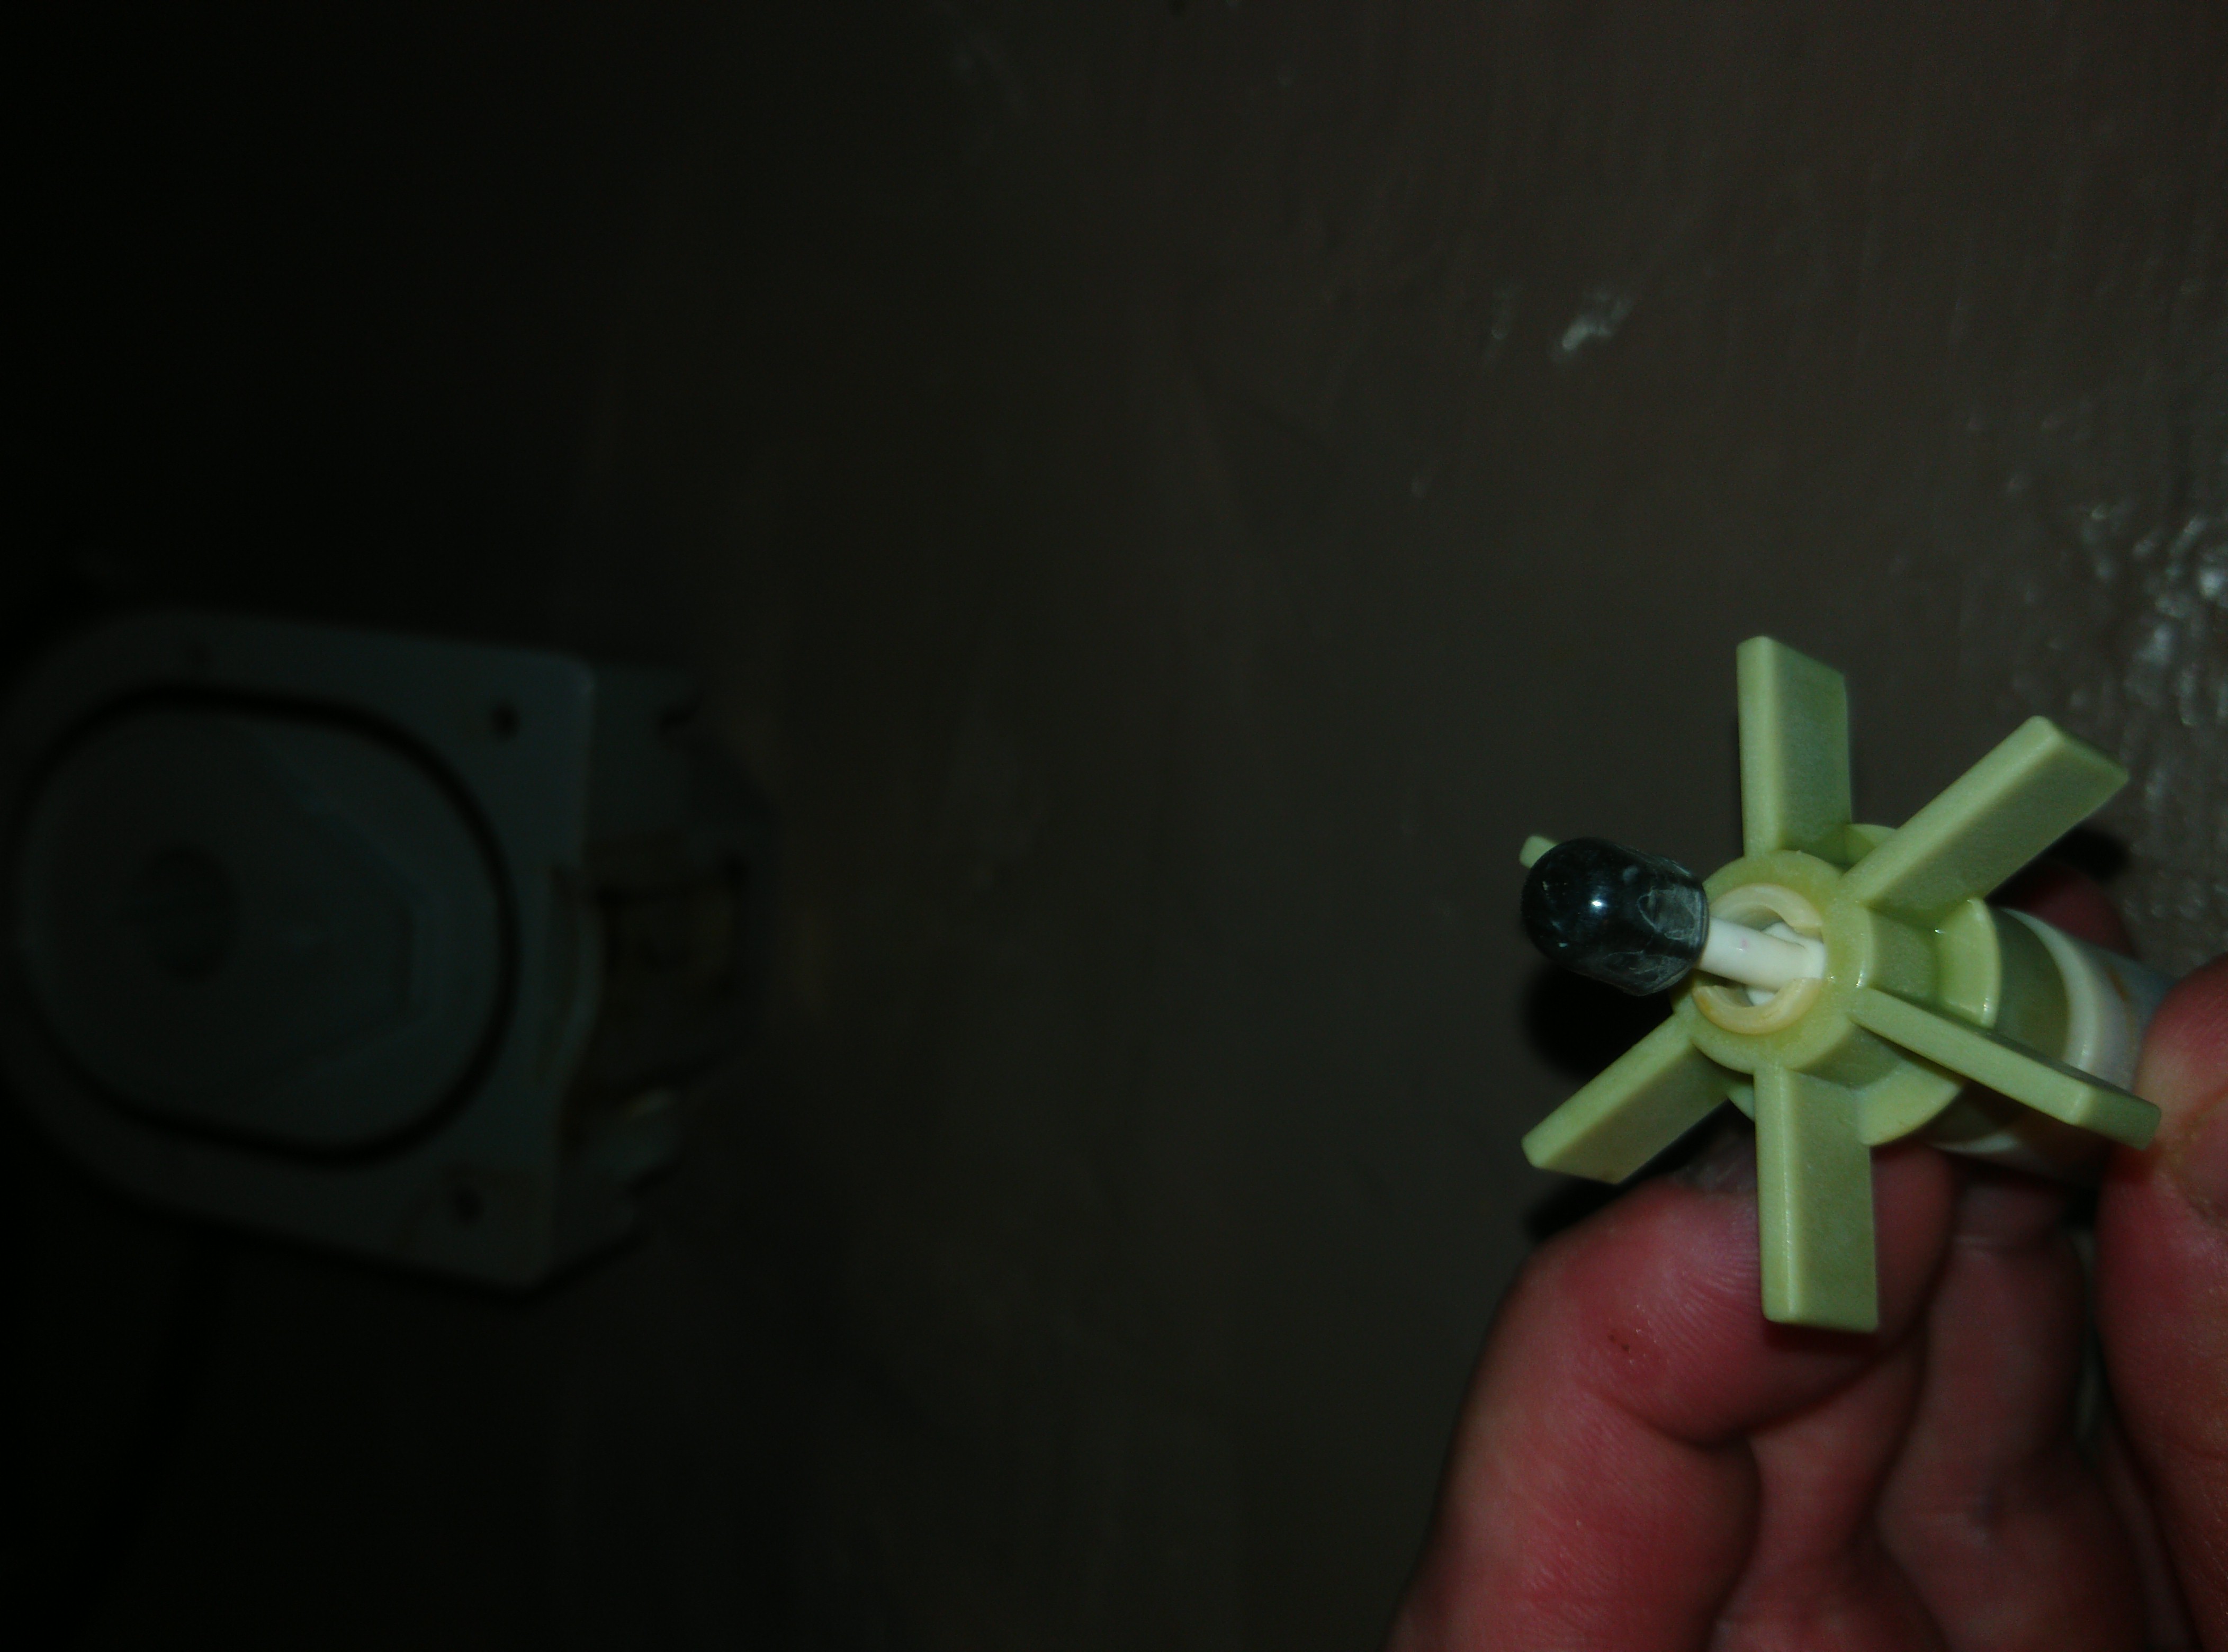
We will also place a washer on the back of the impeller (or commutator) on/over the shaft (update: use the factory provided one). That will look like this (so I’m holding the impeller upside down now). It will fall off if you assemble it upfront. So this is just to show how it will be like once inside of the stator (that or I just made too much pictures, and now I have to write more blog content around it). Front cap, some more washers and stator in the background.
Let’s start assembling it all together. First the shaft with bearing that goes into the hole of the stator. With the factory provided washer. Don’t try to fiddle the impeller together with the shaft into the stator. You’ll just miserably fail due to it all being a bit magnetic of course (it’s an electric motor, remember). Do the shaft with bearing and washer first.
That looks like this (OMG I made too many pictures)
Now we will put the impeller (commutator) over the shaft. Do this gently so that the shaft does not go out of the rubber bearing.
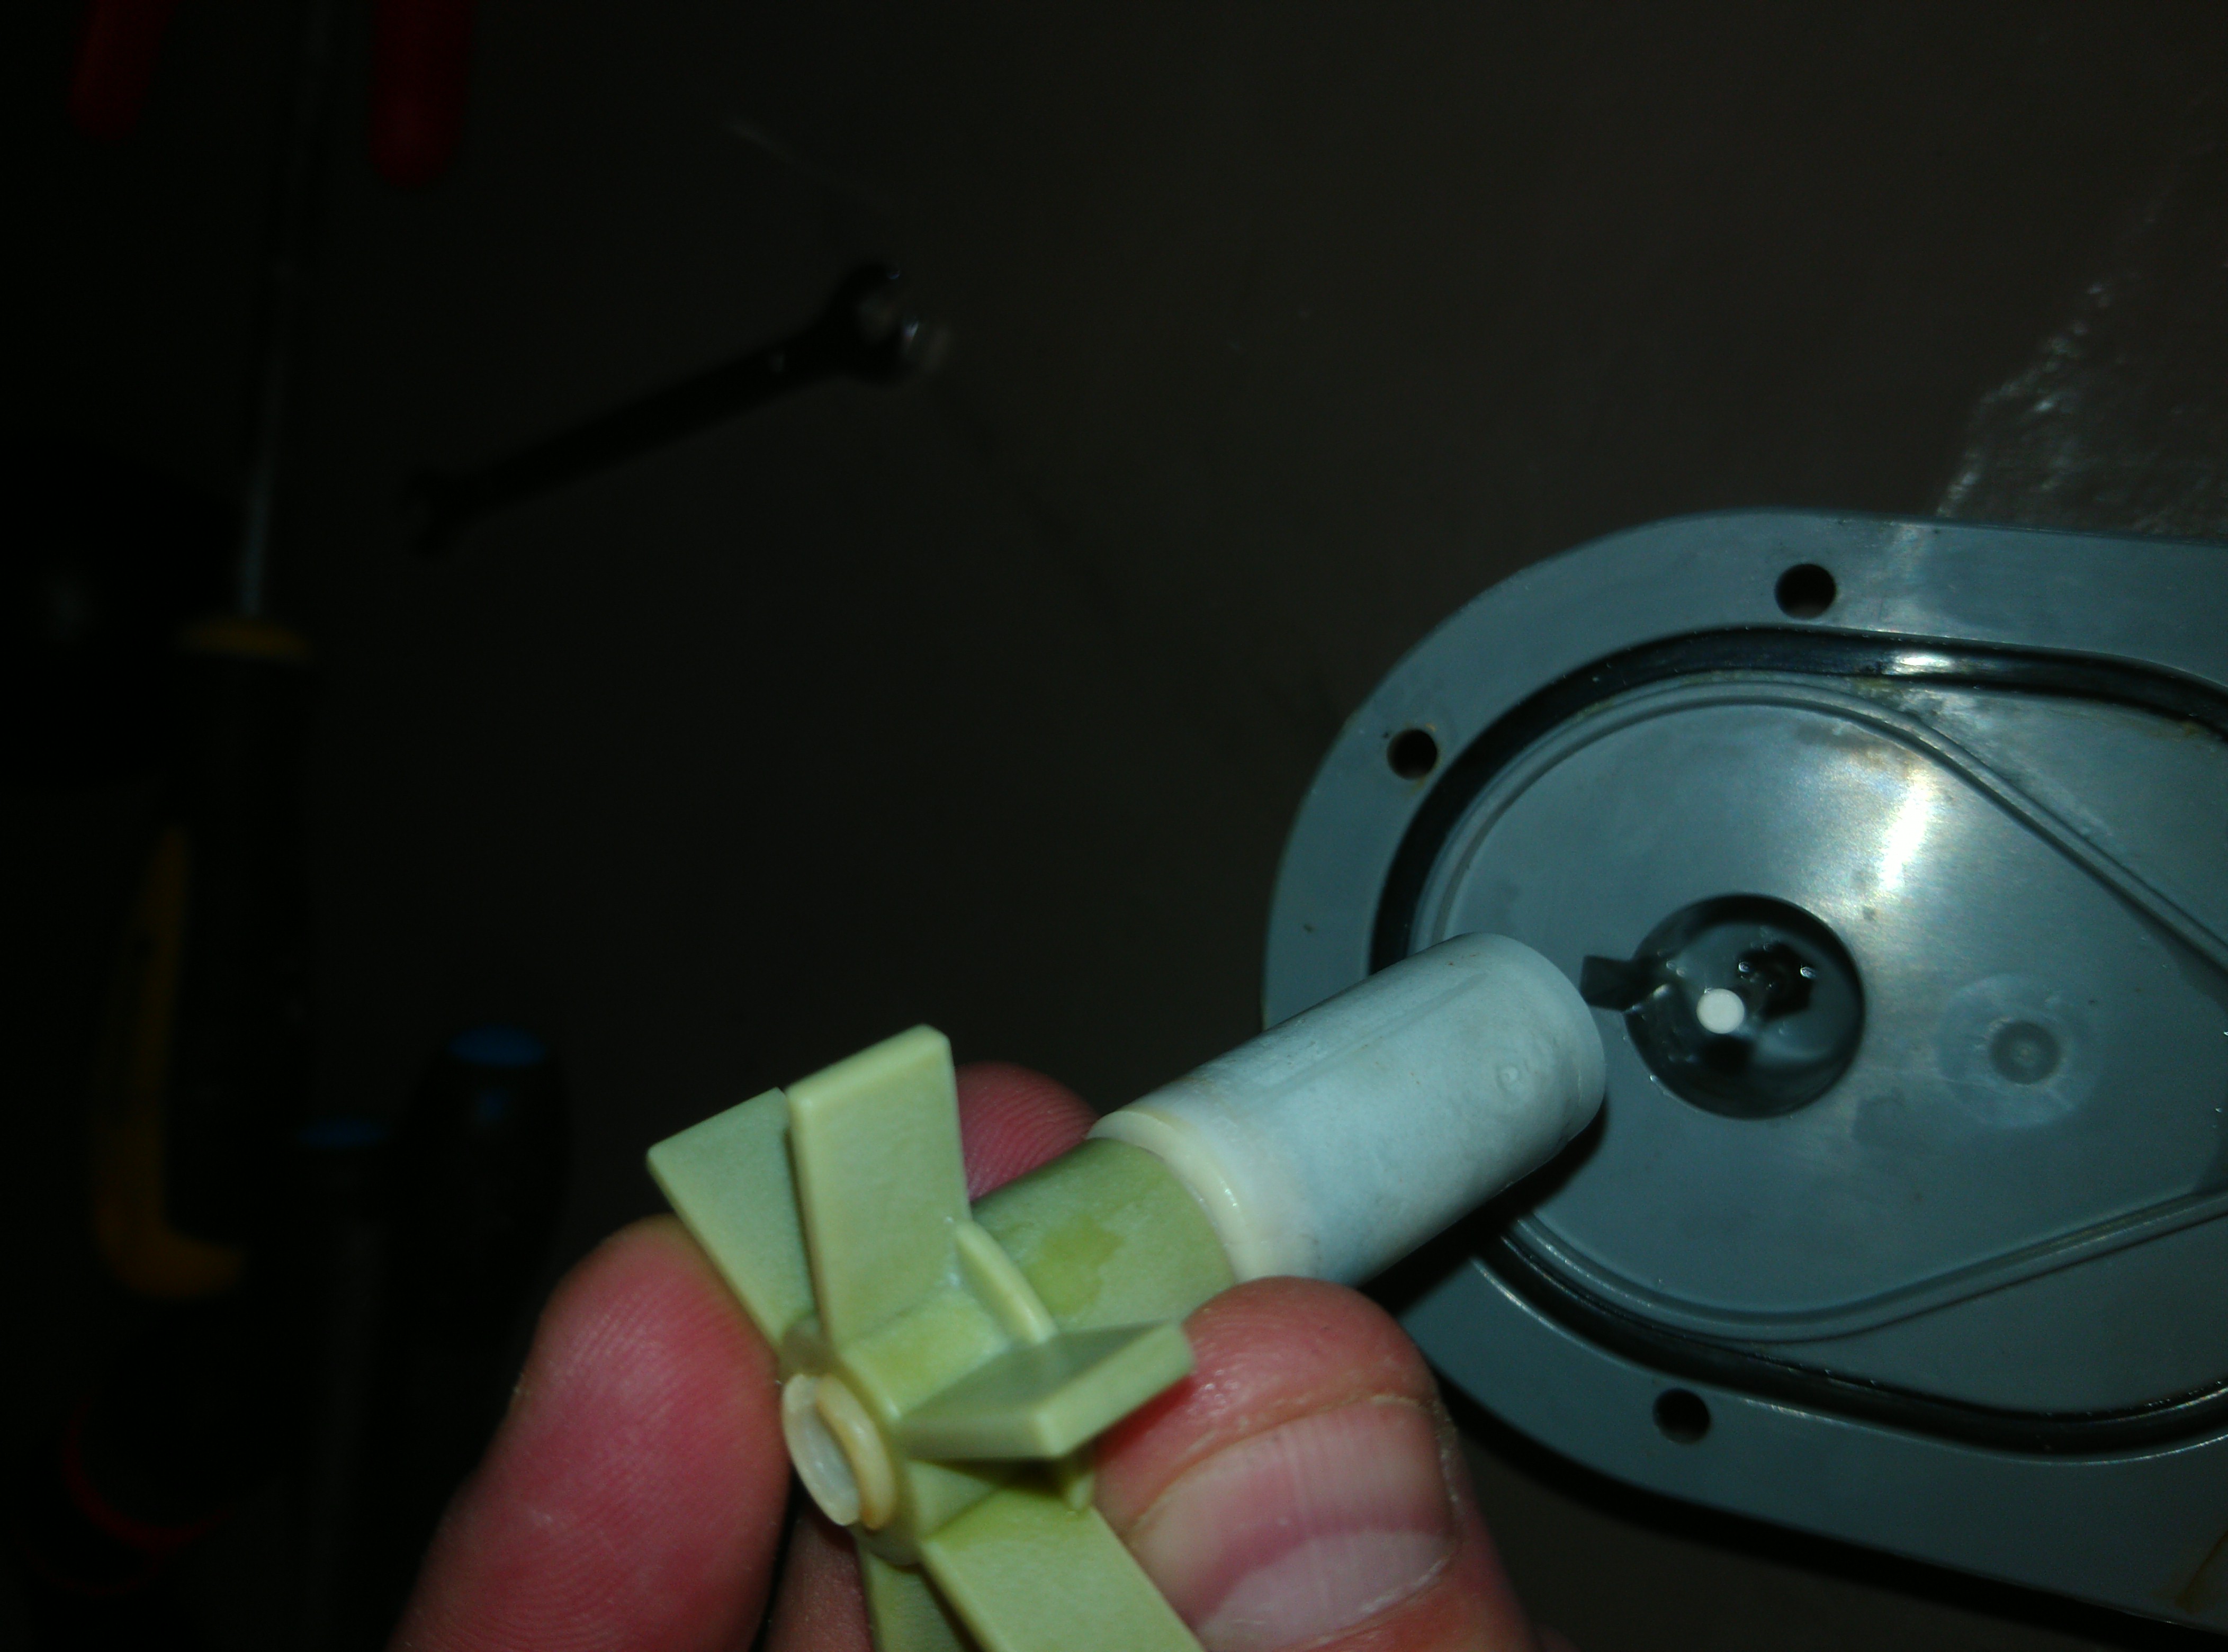
Now place the front cap back. Ensure that the other rubber bearing is in the front cap’s middle center hole. Make sure that the little piece of shaft you have left after the three washers goes into that front cap’s bearing.
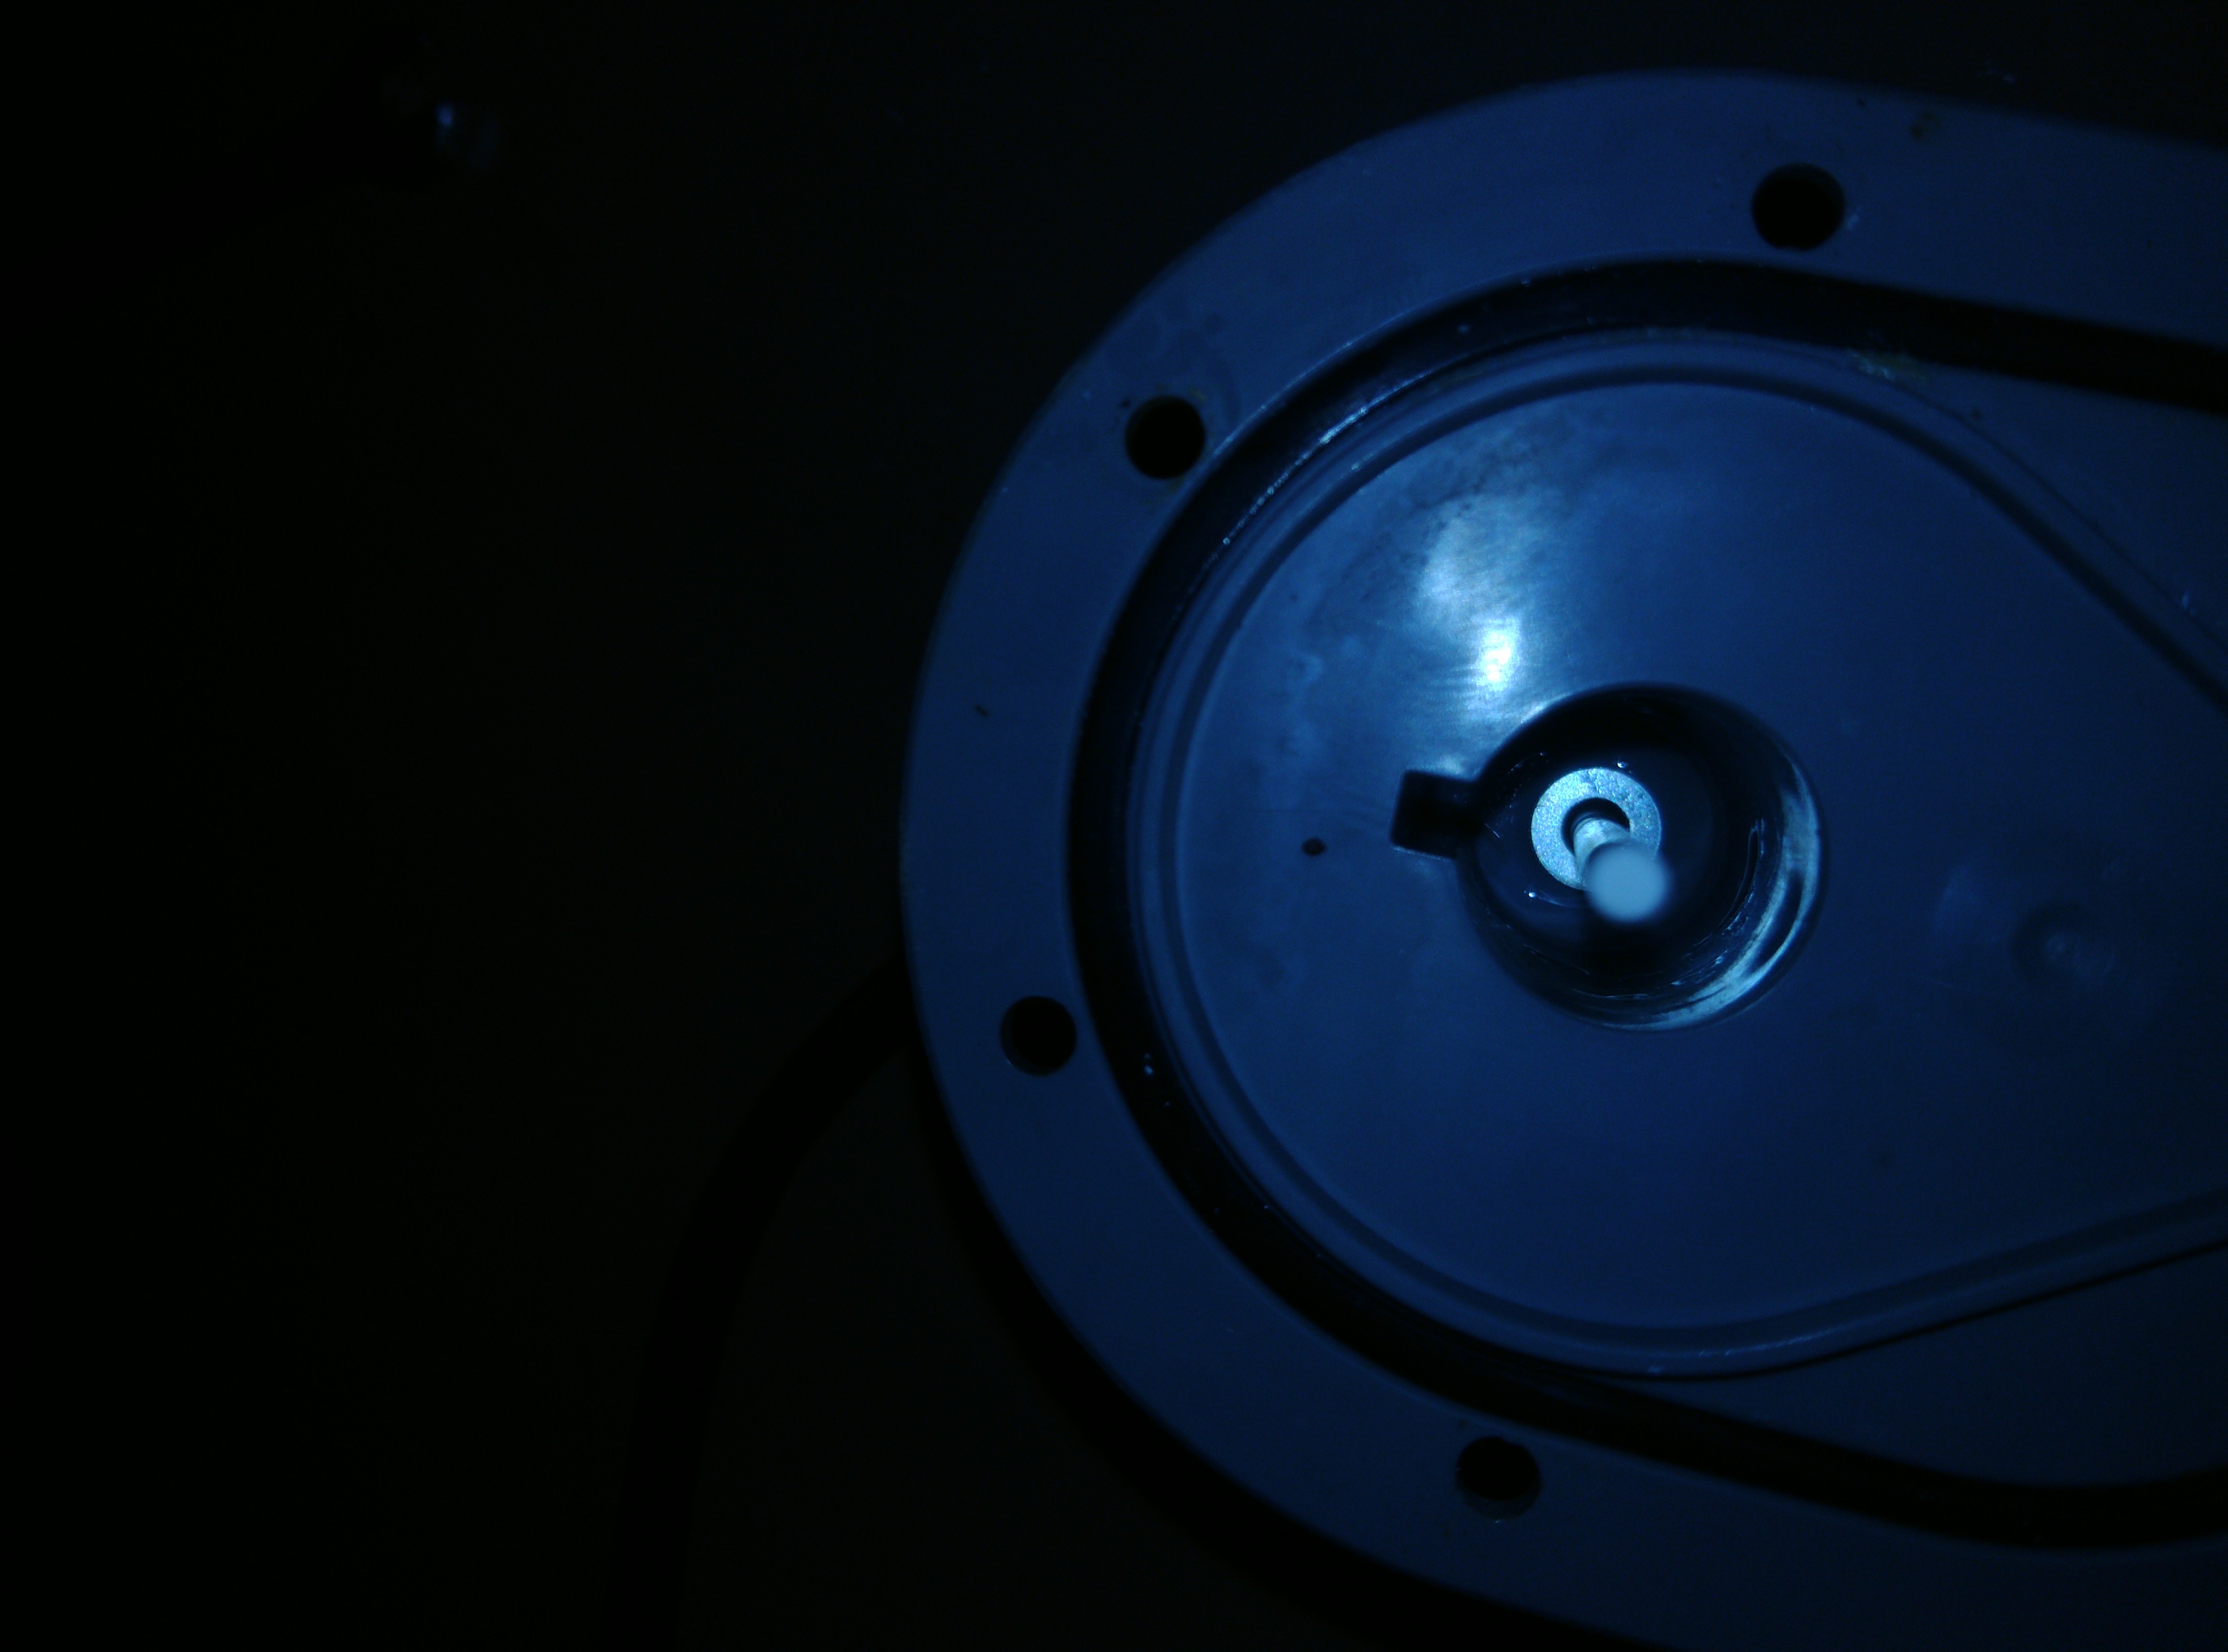
When closed that will look (when looking through the water entrance hole) like this. Look carefully and you’ll see the three washers the plastic washer. They will keep everything in place from now on. Note that since the update mentioned earlier I’m using a white plastic washer instead of three metallic ones.

Now you just close the motor by screwing the front cap tight
If this doesn’t work (I’ve had motors with the commutator magnet broken into pieces) then you can fairly easily find these motors on the second hand market. The replacement is not very hard so you don’t need to buy an entire new water pump unit.